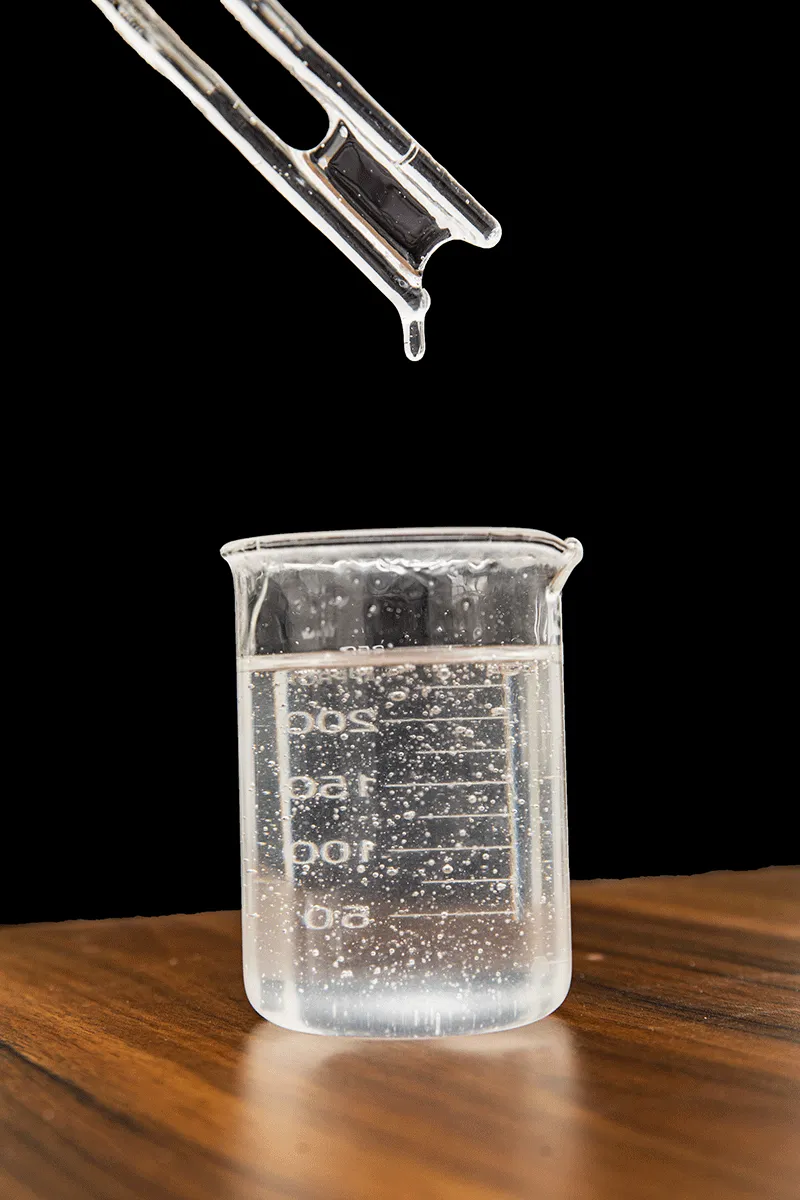
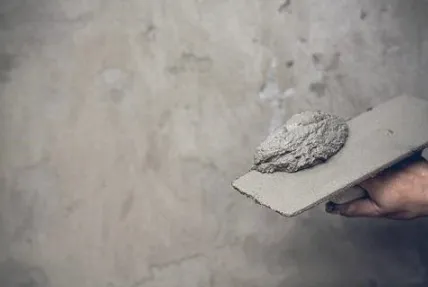
Hydroxypropyl methyl cellulose (HPMC) significantly influences the properties of cement mortar, particularly in its early stages, where it may slightly reduce strength by increasing porosity and absorbing water, which can hinder the cement’s hydration process. However, the long-term impact of HPMC is multifaceted. Its water retention capability sustains hydration, thereby enhancing strength over time. Furthermore, HPMC improves the internal structure of mortar, contributing to stability and durability, which ultimately influences strength positively. The functions of HPMC in mortar are diverse; it primarily serves to retain moisture, preventing rapid evaporation during application processes like masonry, which reduces the risk of cracking and compromised strength. Additionally, HPMC exhibits thickening properties that enhance viscosity, facilitating easier and uniform application while preventing sagging, especially on vertical surfaces. This ensures better adhesion and resistance to gravity-induced displacement. Moreover, HPMC improves the overall workability of mortar, making it simpler to mix, transport, and apply, thus improving construction efficiency and minimizing waste. It also plays a vital role in enhancing durability by improving frost resistance and impermeability, crucial in cold or humid conditions. However, dosage control is essential, as inadequate or excessive amounts can adversely affect mortar strength and performance. Optimal HPMC dosage should be determined experimentally, and thorough mixing is necessary to ensure uniform distribution within the mortar. Proper storage conditions are also vital; HPMC must be kept in a dry environment away from direct sunlight and extreme temperatures to maintain its efficacy. Overall, while HPMC presents various benefits, careful management of its application and dosage is key to maximizing its advantages in cement mortar.

