


Feb . 13, 2025 00:30 Back to list
mineral fiber ceiling tiles
Installing a T-bar ceiling grid can seem daunting for beginners, but with the right guidance, it is a task that can be accomplished with precision and efficiency. A T-bar ceiling is not only functional but also enhances the aesthetic value of a room. Here is an expertly crafted guide to ensure a successful installation, focusing on inductive practices and valuable insights extracted from real experiences in the field.
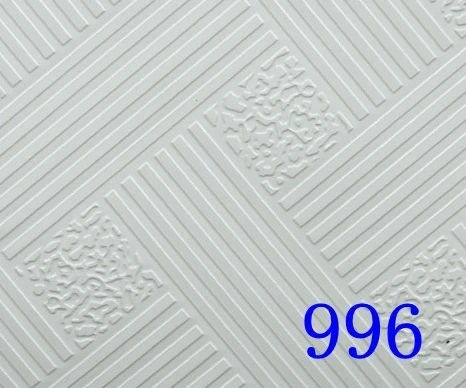
Cross T-bars, the secondary support structures, connect perpendicular to the main runners, forming a grid pattern essential for holding ceiling tiles. Measure precisely and cut the T-bars using tin snips as needed to fit the space. Insert the cross T-bars into the precut slots in the main runners, ensuring they snap into place securely. A consistent and meticulously aligned grid is critical, both for functionality and for the visual appeal of the completed ceiling. Once the framework is secure, inspect the entire grid for level alignment and stability. Necessary adjustments should be made at this stage to rectify any discrepancies that could compromise the ceiling's integrity. Expert installers emphasize the importance of not rushing this process, as minor alterations can prevent future complications. The final step involves placing the ceiling tiles into the grid. Choose tiles that meet your aesthetic preferences and functional needs, whether they're acoustic tiles for soundproofing or decorative options for enhancing visual impact. Carefully lift each tile and tilt it into the grid from below, allowing it to rest securely on the T-bars. If a tile requires trimming to fit, use a utility knife to make precise cuts. Installing a T-bar ceiling grid involves a blend of careful planning, professional expertise, and patient execution. Each step must be approached with a mindset oriented towards quality and precision. By adhering to these detailed instructions and allowing room for adjustments, the installation process can be completed efficiently, resulting in a robust and appealing ceiling. The combination of real-world experience and a commitment to high standards will ensure that your T-bar ceiling is both functionally and aesthetically successful for years to come.
Cross T-bars, the secondary support structures, connect perpendicular to the main runners, forming a grid pattern essential for holding ceiling tiles. Measure precisely and cut the T-bars using tin snips as needed to fit the space. Insert the cross T-bars into the precut slots in the main runners, ensuring they snap into place securely. A consistent and meticulously aligned grid is critical, both for functionality and for the visual appeal of the completed ceiling. Once the framework is secure, inspect the entire grid for level alignment and stability. Necessary adjustments should be made at this stage to rectify any discrepancies that could compromise the ceiling's integrity. Expert installers emphasize the importance of not rushing this process, as minor alterations can prevent future complications. The final step involves placing the ceiling tiles into the grid. Choose tiles that meet your aesthetic preferences and functional needs, whether they're acoustic tiles for soundproofing or decorative options for enhancing visual impact. Carefully lift each tile and tilt it into the grid from below, allowing it to rest securely on the T-bars. If a tile requires trimming to fit, use a utility knife to make precise cuts. Installing a T-bar ceiling grid involves a blend of careful planning, professional expertise, and patient execution. Each step must be approached with a mindset oriented towards quality and precision. By adhering to these detailed instructions and allowing room for adjustments, the installation process can be completed efficiently, resulting in a robust and appealing ceiling. The combination of real-world experience and a commitment to high standards will ensure that your T-bar ceiling is both functionally and aesthetically successful for years to come.
Latest news
-
Quality Ceiling Trap Doors & Access Panels | Easy & Secure AccessNewsAug.30,2025
-
Durable Ceiling T Grid Systems | Easy InstallationNewsAug.29,2025
-
PVC Gypsum Ceiling: Durable, Laminated Tiles for Modern SpacesNewsAug.28,2025
-
Pvc Gypsum Ceiling Is DurableNewsAug.21,2025
-
Mineral Fiber Board Is DurableNewsAug.21,2025
-
Ceiling Tile Clip Reusable DesignNewsAug.21,2025


