


Feb . 16, 2025 00:52 Back to list
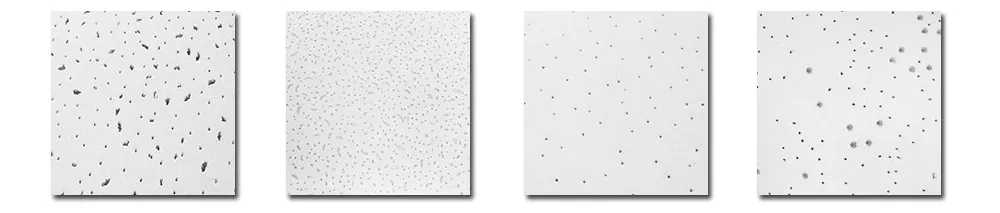
High quality Mineral Fiber Ceiling Tiles
Creating a ceiling access panel is a practical solution for reaching components hidden above ceilings without causing extensive damage or requiring costly repairs. This guide provides an in-depth look at the process, drawing on expert knowledge and real-world experience to ensure both functionality and aesthetic appeal.
With the hole cut and the frame selected, install the frame by securing it to the ceiling with appropriate anchors. For drywall, toggle bolts can be very effective, while plaster may require expansion anchors to maintain a tight and secure hold. Verify the frame is level before fully tightening to prevent unsightly gaps or misalignment. Once the frame is installed, place the access panel door. If you're using a painted or coated panel, ensure the finish matches your ceiling color for a seamless appearance. Alternatively, consider painting the access door to match the rest of the room if aesthetics are a priority. For homes with high humidity or direct bathroom installations, options like PVC panels provide additional resistance to mold and deterioration. Beyond installation, regular maintenance ensures the access panel remains functional and unobtrusive. Check hinges and latches periodically for wear and lubricate as necessary. This is essential in preventing squeaking and ensuring ease of use. Additionally, inspect the surrounding area for any signs of structural stress or water damage, which might necessitate additional sealing or support. Incorporating a ceiling access panel not only preserves the integrity of your ceiling but also provides a discreet solution to maintenance or inspection needs. This guide, integrating expertise and first-hand experience, ensures your project is completed efficiently and professionally, offering long-term utility and reliability.

With the hole cut and the frame selected, install the frame by securing it to the ceiling with appropriate anchors. For drywall, toggle bolts can be very effective, while plaster may require expansion anchors to maintain a tight and secure hold. Verify the frame is level before fully tightening to prevent unsightly gaps or misalignment. Once the frame is installed, place the access panel door. If you're using a painted or coated panel, ensure the finish matches your ceiling color for a seamless appearance. Alternatively, consider painting the access door to match the rest of the room if aesthetics are a priority. For homes with high humidity or direct bathroom installations, options like PVC panels provide additional resistance to mold and deterioration. Beyond installation, regular maintenance ensures the access panel remains functional and unobtrusive. Check hinges and latches periodically for wear and lubricate as necessary. This is essential in preventing squeaking and ensuring ease of use. Additionally, inspect the surrounding area for any signs of structural stress or water damage, which might necessitate additional sealing or support. Incorporating a ceiling access panel not only preserves the integrity of your ceiling but also provides a discreet solution to maintenance or inspection needs. This guide, integrating expertise and first-hand experience, ensures your project is completed efficiently and professionally, offering long-term utility and reliability.
Latest news
-
Quality Ceiling Trap Doors & Access Panels | Easy & Secure AccessNewsAug.30,2025
-
Durable Ceiling T Grid Systems | Easy InstallationNewsAug.29,2025
-
PVC Gypsum Ceiling: Durable, Laminated Tiles for Modern SpacesNewsAug.28,2025
-
Pvc Gypsum Ceiling Is DurableNewsAug.21,2025
-
Mineral Fiber Board Is DurableNewsAug.21,2025
-
Ceiling Tile Clip Reusable DesignNewsAug.21,2025


