Dec . 04, 2024 15:05 Back to list
Steps to Easily Open a Ceiling Access Panel for Maintenance and Inspection
How to Open a Ceiling Access Panel
Ceiling access panels are essential components in modern construction. They offer a convenient way to access electrical systems, plumbing, or HVAC systems without causing significant disturbances to the surrounding area. While these panels are beneficial, they can sometimes be challenging to open, especially for those unfamiliar with their mechanisms. Whether you're dealing with a stubborn panel or simply looking to understand the process better, this guide will take you through the steps to open a ceiling access panel safely and effectively.
Understanding the Access Panel
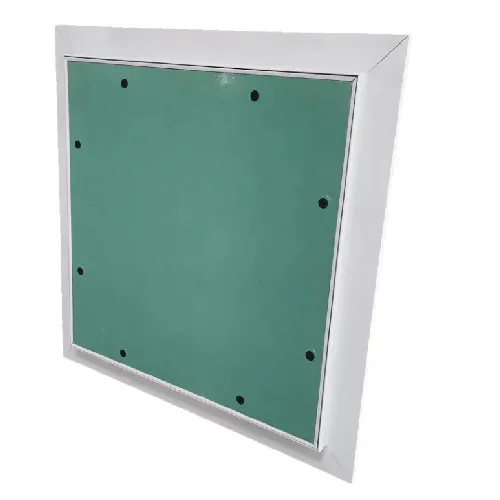
Before diving into the methods of opening a ceiling access panel, it's crucial to understand the type of panel you're dealing with. Ceiling access panels can vary in design; some are framed in metal, while others may be made of lightweight materials like plastic or drywall. Many panels come equipped with latch mechanisms, while others may use screws or magnetic closures. Knowing the type of panel will help you determine the best approach to open it.
Tools You Might Need
Depending on the type of access panel, you may require specific tools for the job
1. Screwdriver Most commonly, a flat-head or Phillips screwdriver will suffice if screws secure the panel. 2. Utility Knife If the panel is a drywall-type, a utility knife could help cut through paint or caulking sealing the edges. 3. Pliers These can help grip and twist any latches or fixtures that may be tight. 4. Flashlight If you need to see in a dimly lit space, a flashlight can be invaluable.
Steps to Open a Ceiling Access Panel
1. Safety First Before you start working, ensure that any power supply linked to electrical wiring in the ceiling is turned off. It's also a good idea to wear safety goggles to protect your eyes from debris while working overhead.
how to open ceiling access panel

2. Inspect the Panel Take a moment to examine the panel. Look for any visible screws, latches, or handles that may indicate how it's secured. If you're unsure, consult any records or schematic drawings available for your building.
3. Remove Screws or Fasteners If the panel has screws, use the appropriate screwdriver to remove them one by one. Set the screws aside in a safe place to avoid losing them. If there are decorative covers over screws, you may need to pry those off gently.
4. Release Latches or Mechanisms If the panel uses a latch system, find the release mechanism. Pull or twist as needed, ensuring that you are applying force in the right direction. If the latches are stiff from age or paint, gently tap around them to loosen any debris.
5. Gently Pry Open the Panel Once freed from screws and latches, use a utility knife to carefully loosen the edges, if necessary. Hold the panel from the edge and pull it down gently—be aware of any hidden wiring or obstructions behind the panel.
6. Inspect the Inside Once the panel is open, take your time to look around. It's a good practice to ensure that nothing is obstructing your access to the necessary elements and that there are no leaks or damages that need your attention.
Closing the Panel
After you have completed your task, ensure the access panel is properly closed. Reverse the steps you took to open it. Reattach any screws or latches, ensuring everything is secured tightly. This not only keeps the area looking neat but also maintains the integrity of the ceiling.
Conclusion
Opening a ceiling access panel doesn't have to be an overwhelming task. With the right tools and knowledge, you can safely gain access to essential systems within your home or workspace. Always prioritize safety and take your time—success is often just a few careful steps away!
-
Quality Ceiling Trap Doors & Access Panels | Easy & Secure AccessNewsAug.30,2025
-
Durable Ceiling T Grid Systems | Easy InstallationNewsAug.29,2025
-
PVC Gypsum Ceiling: Durable, Laminated Tiles for Modern SpacesNewsAug.28,2025
-
Pvc Gypsum Ceiling Is DurableNewsAug.21,2025
-
Mineral Fiber Board Is DurableNewsAug.21,2025
-
Ceiling Tile Clip Reusable DesignNewsAug.21,2025


