mineral fiber drop ceiling
-
2. Space Optimization In urban environments where every square meter counts, 600x600 ceiling hatches allow builders and architects to optimize space usage. By utilizing ceilings for mechanical systems, valuable floor space can be dedicated to functional areas, making it ideal for apartments, offices, and retail spaces.
600 x 600 ceiling hatch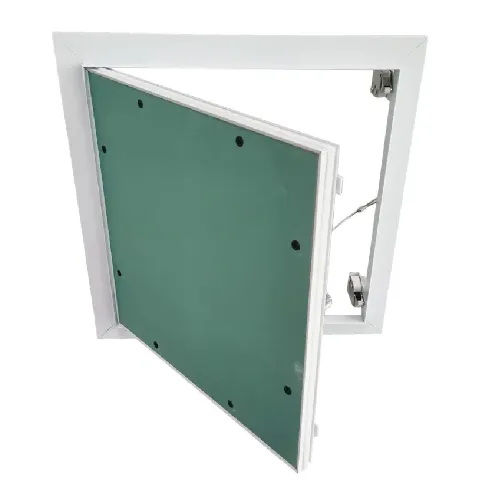
...
Links
-
- The classic design of black rubber ugg boots makes them a versatile accessory that can be worn with a variety of outfits
-
As the world becomes increasingly unpredictable in terms of weather patterns, the necessity for reliable footwear has never been more apparent. Among the myriad of choices available, men's green rain boots have carved out a significant niche in the fashion and functional footwear market. This article explores the appeal, versatility, and practicality of these boots, while also addressing the growing trend towards eco-conscious fashion.
- In the world of footwear, few items have as rich a history and practical significance as women's work gumboots. These sturdy, waterproof boots, often referred to as wellingtons or simply wellies, have evolved from their humble beginnings in agricultural fields to become an indispensable tool for women across various industries.
- If you're looking for something a little more feminine, cute rain flats are a great option
cute rain shoes women. These shoes are perfect for those who want to stay dry without sacrificing style. With options like bow details, floral patterns, and even glitter accents, rain flats are a fashionable choice for any fashion-forward woman. Plus, the slip-on style makes them easy to wear and perfect for on-the-go lifestyles. - The fashion industry too has embraced thigh-high waders, redefining them as a stylish statement piece. From music festivals to fashion runways, they have become a symbol of unconventional chic, reflecting the growing trend of merging outdoor functionality with urban fashion.
-
Conclusion
- The black hue, a symbol of sophistication and elegance, imparts a classic touch to any outfit. It's a color that transcends trends, making these boots a versatile accessory suitable for various occasions. From casual day wear to formal events, black boots with rubber heels can effortlessly elevate one's ensemble. Their dark shade effortlessly absorbs into the background, allowing other elements of the outfit to shine, while still making a subtle statement.
- In essence, stout chest waders serve as both the workhorse and the style icon in an outdoorsman's wardrobe. They encapsulate the spirit of adventure, protection, and sustainability, all while allowing the wearer to express their unique taste within the boundless canvas of the great outdoors. Whether cast in the role of necessity or fashion, these waders are an indispensable part of any outdoor expedition, embodying the perfect blend of utility and charm.
- As we grow older, the rain boots may get tucked away in the back of the closet, replaced by more conventional shoes for drier days. Yet, they remain, a testament to the times when we were young and fearless, when the rain was not a foe but a friend inviting us to play, to live, to truly experience the vibrant tapestry of life.
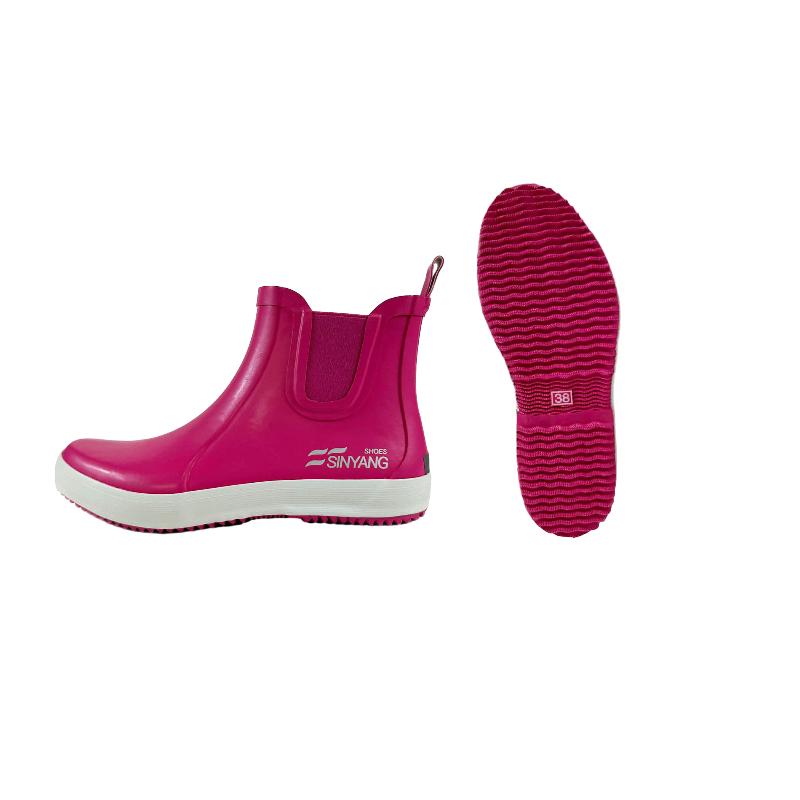
- Women's rubber boots are a practical and stylish choice for rainy days and muddy outdoor adventures. With their waterproof construction and durable design, these boots are perfect for keeping your feet dry and comfortable in wet conditions.
- My gumboots with laces proved to be an excellent choice for this adventure
 gumboots with laces. They allowed me to navigate the uneven terrain with ease, keeping my feet dry and comfortable even when crossing small streams or walking through damp grass. The laces also provided a sense of security, knowing that my feet were firmly secured in place and wouldn't slip out of the boots.
 - The Importance of Waders for Efficient Pond Cleaning
-
2. Fit and Size For big and tall anglers, finding a proper fit is crucial. Look for brands that offer extended sizing, including larger widths and lengths. Many companies now cater specifically to big and tall individuals, providing a range of options that ensure comfort without sacrificing performance.
big and tall fishing waders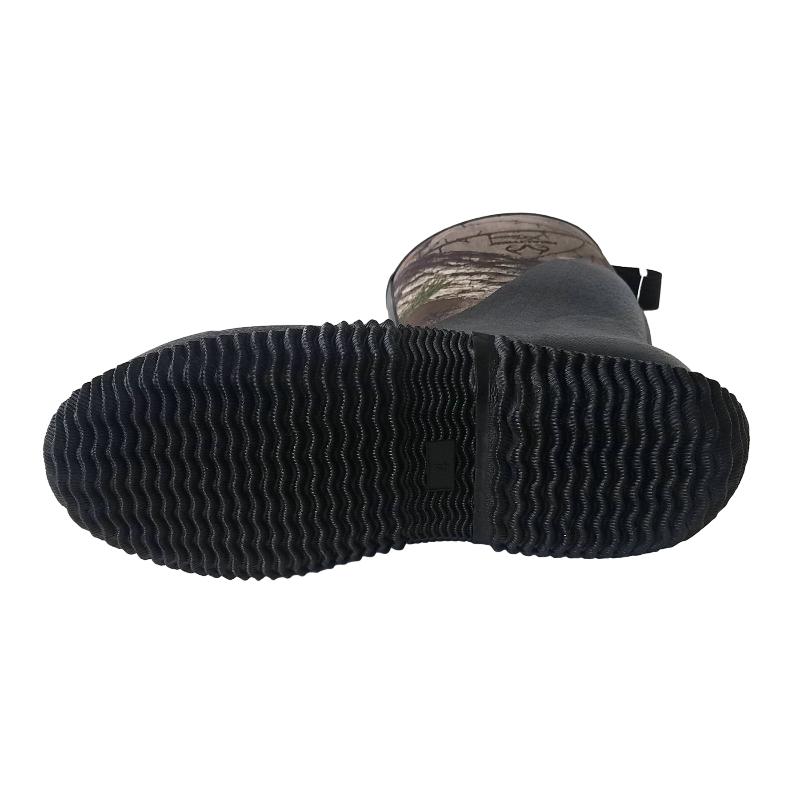
-
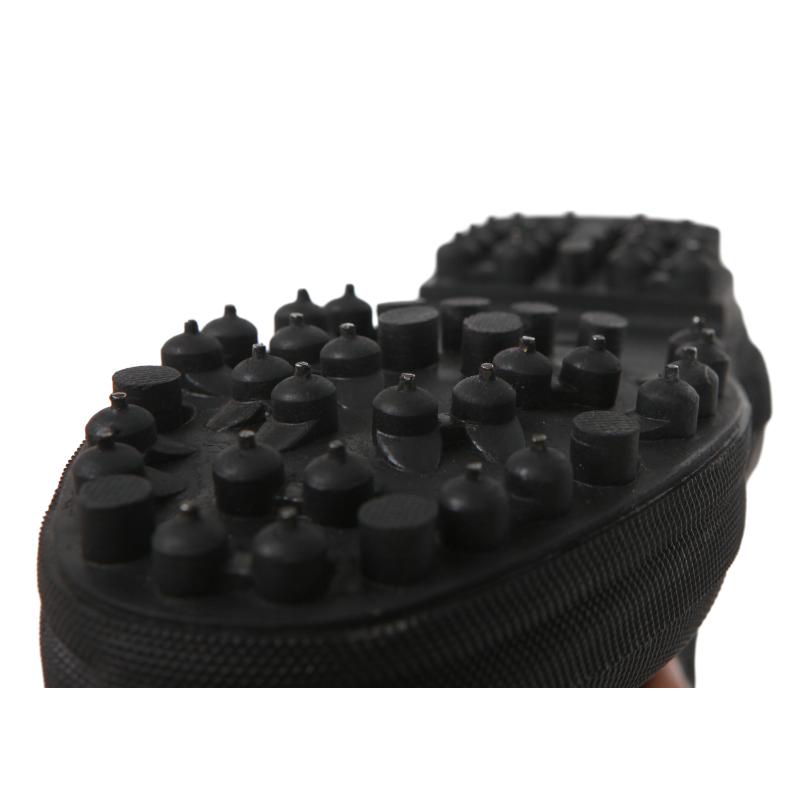
Boots with studded soles are a versatile option for outdoor enthusiasts engaged in various activities, including hiking, fishing, and wading. The studded soles provide enhanced traction on a range of surfaces, from wet rocks to muddy trails, offering stability and confidence in diverse outdoor environments. These boots are designed to provide reliable grip and support for outdoor pursuits, making them a valuable addition to any outdoor enthusiast's gear collection.
-
One of the key advantages of hip boots for hunting is their height. While regular hunting boots may only reach up to your ankles or calves, hip boots extend all the way up to your hips. This added height provides extra protection against water, mud, and abrasive vegetation, ensuring that your legs and feet stay dry and safe.
- The Indispensable Role of Felt or Rubber Wading Boots in Outdoor Adventures
-
Felt soled fishing boots, felt shoes for fishing, and felt shoe soles are all related to the use of felt material in footwear for fishing and wading. Let's explore these topics in more detail.
-
Secondly, let’s look at cheap camouflage rubber boots. This kind of hunting shoes is usually made of rubber material, which has good waterproof and abrasion resistance, and can protect the feet from external damage in a variety of harsh environments. The camouflage design makes it easier for hunters to blend into the environment in the wild and improves the success rate of hunting. Moreover, this kind of hunting shoes is low-priced and very suitable for hunters with limited budget.
- The soles of these boots are usually slip-resistant, offering superior traction on slippery surfaces. This is a crucial safety feature that can prevent accidents on oily or wet floors, a common hazard in many workplaces. The thick rubber also provides excellent shock absorption, reducing foot and leg fatigue during extended periods of standing or walking The thick rubber also provides excellent shock absorption, reducing foot and leg fatigue during extended periods of standing or walking
 The thick rubber also provides excellent shock absorption, reducing foot and leg fatigue during extended periods of standing or walking The thick rubber also provides excellent shock absorption, reducing foot and leg fatigue during extended periods of standing or walkingrubber work boots lowes.
 - In the world of hunting, every advantage counts. One such advantage is the use of scent blocker hunting boots. These specialized boots are designed to reduce the hunter's scent signature, making it harder for prey to detect their presence. In this article, we will explore the art of using scent blocker hunting boots and how they can improve your hunting experience.
- Not just a practical choice, Chelsea rain boots have become a fashion statement. They effortlessly pair with anything from jeans and leggings to dresses and skirts, transforming even the dreariest of rainy days into a fashionable affair. Their sleek design allows them to transcend seasons, seamlessly blending into both casual and semi-formal outfits.
- The black rubber rain boots are made primarily from natural rubber, a material renowned for its waterproof properties. This makes them an ideal choice for those dreary days when rain seems to pour endlessly. The rubber construction not only keeps the feet dry but also offers a degree of insulation, protecting wearers from the chill that often accompanies wet weather.
-
- In addition to their practical benefits, men's lace-up hunting boots also offer a stylish look
-
-
Whether you're working outdoors in cold weather, navigating slippery or hazardous surfaces, or simply need a durable and reliable boot for your daily tasks, insulated safety Wellington boots are the ideal choice. Invest in a pair today and experience the comfort, protection, and peace of mind that these boots provide.
- The Versatility of Black Leather Sports Shoes
- Notably, brands have recognized the potential of this footwear category and have introduced innovative designs. From classic green Wellingtons to trendy Chelsea-style boots, there's a mid-rubber boot to suit every taste and preference. Some even incorporate additional features like insulation, shock absorption, or extra ankle support, enhancing both functionality and wearer comfort.
- In addition to their practical benefits, men's lace-up hunting boots also offer a stylish look
- Moreover, these boots often come with non-slip soles, providing a secure grip on slippery surfaces. Safety is paramount when it comes to children, and this feature adds an extra layer of protection during their outdoor escapades. The sturdy construction also withstands the wear and tear that comes with active play, ensuring durability and value for money The sturdy construction also withstands the wear and tear that comes with active play, ensuring durability and value for money
 The sturdy construction also withstands the wear and tear that comes with active play, ensuring durability and value for money The sturdy construction also withstands the wear and tear that comes with active play, ensuring durability and value for moneychildrens insulated rubber boots.
 - The primary function of these boots is their slip resistance. Made from high-quality rubber, they provide a sturdy grip on a variety of surfaces, reducing the risk of slips and falls that can lead to serious injuries. The tread pattern on the outsole is designed to channel liquid away, further enhancing the boot's ability to maintain traction even when wet. This feature is particularly crucial in industries such as fishing or oil rig operations where workers are often exposed to water and slippery conditions.
- New Balance is another prominent athletic shoe manufacturer that has gained a strong foothold in the market. Founded in 1906, New Balance is known for its focus on comfort, support, and durability. The company offers a wide range of styles and sizes to accommodate athletes of all shapes and sizes.
- The Asgard women's ankle rain boots are not just for rainy days; they have become a staple for those who appreciate versatility in their footwear. They transition effortlessly from a rainy morning commute to a casual afternoon rendezvous without missing a beat. Their ability to repel water means they can handle everything from unexpected downpours to muddy terrains, making them a reliable companion for outdoor activities and adventurous travels.
- Emily, donning her trusty red rain boots, sprang into action. She organized the children of the village to help sandbag the homes near the riverbank. As they worked tirelessly, their spirits were lifted by the sight of Emily's vibrant boots, a beacon of hope amidst the dreary gray skies and rising waters As they worked tirelessly, their spirits were lifted by the sight of Emily's vibrant boots, a beacon of hope amidst the dreary gray skies and rising waters
 As they worked tirelessly, their spirits were lifted by the sight of Emily's vibrant boots, a beacon of hope amidst the dreary gray skies and rising waters As they worked tirelessly, their spirits were lifted by the sight of Emily's vibrant boots, a beacon of hope amidst the dreary gray skies and rising waterschildrens red rain boots.
 - Lastly, don't underestimate the psychological boost a new pair of gym shoes can bring. A fresh, stylish pair might just be the motivation you need to hit the gym or push through a challenging workout. However, prioritize function over fashion; aesthetics should complement performance, not compromise it.
-
When it comes to fishing, the right gear can make all the difference. Among the essential equipment for any angler, spike fishing boots have gained considerable popularity. These specialized boots are designed to enhance traction, stability, and comfort while navigating slippery or rocky shorelines, making them an indispensable part of sports fishing.
- In terms of style, neoprene fishing boots are available in a variety of designs and colors, from stealthy camo patterns for freshwater fishing to bright hues for added visibility in saltwater environments. Many brands also offer different sizes and widths to accommodate all foot shapes and sizes.
-
Insulated safety Wellington boots are an essential piece of footwear for those working in hazardous or challenging environments. These boots are designed to provide both warmth and protection to the wearer, making them ideal for a wide range of industries and applications.
- Diving into the world of extreme water sports, one essential piece of equipment that stands out is the drysuit, often paired with overboots for optimal protection and comfort. A drysuit, as the name suggests, is designed to keep the wearer dry by preventing water from entering the suit. It's a game-changer for those engaging in activities such as scuba diving, cold water swimming, or open-water kayaking.
-
Despite the high prices and limited availability, exclusive sneakers continue to be a booming industry. Brands like Nike, Adidas, and Jordan collaborate with celebrities, designers, and artists to create unique and innovative designs that capture the attention of sneakerheads worldwide. The thrill of hunting down a rare pair of sneakers and the satisfaction of adding them to your collection are what drive the passion and obsession for exclusive sneakers.
-
-
Warm Waterproof Fishing Boots:
-
The term 2000 grams refers to the level of insulation that these boots offer, which is measured in grams of insulation that can fit into a square meter of the material. In simple terms, the higher the grams, the warmer the boot. A 2000 gram insulation rating is excellent for colder climates, making these boots ideal for hunters who venture out in frigid temperatures. The insulation traps heat effectively, ensuring that your feet remain warm and comfortable, even during long hours outdoors.
- Environmental consciousness also plays a role in the production of these boots. Many manufacturers are committed to using sustainable materials and practices, aiming to reduce the ecological footprint of their products. This conscious effort aligns with the modern consumer's increasing demand for sustainability without compromising on style.
-
Wading boots are essential gear for anglers and outdoor enthusiasts who enjoy traversing streams, rivers, and lakes. The felt soles of these boots provide excellent traction on slippery riverbeds, making them a popular choice. However, after extensive use, these boots can gather dirt, algae, and even harmful organisms. Proper cleaning is crucial not only for the longevity of your gear but also for protecting the aquatic environments we cherish. This article will guide you through the steps on how to clean your felt sole wading boots efficiently.
-
- In the world of children's fashion, yellow rain boots have become a staple. They not only serve a practical purpose but also double as a fashion statement. Paired with a raincoat and a matching umbrella, a child dressed in a full rain gear ensemble is ready to conquer the stormiest day with a dash of style.
- In addition to their practicality, women's short insulated rain boots are also incredibly fashionable. With a wide range of styles and designs to choose from, you can find a pair that suits your personal taste and complements your wardrobe. Whether you prefer a classic black boot or a fun patterned design, there are plenty of options to choose from.
- When it comes to caring for your men's size 16 rubber boots, maintenance is simple. Regularly cleaning and drying the boots will help preserve their quality and extend their lifespan. Store them in a cool, dry place when not in use to prevent any damage or deterioration.
- Angular Contact Ball Bearings Product Guide and Specifications Overview
- 28580 bearing
- weizi bearing bearing ball deep groove
- Roulements à contact angulaire - Performance et Précision
- weizi bearing bearing pressing machine
- weizi bearing cylindrical roller bearing supplier
- weizi bearing nj 206 bearing
- weizi bearing 23244 bearing
- Similar title to 4T L44649 Bearing can be Replacement Bearing for 4T L44649, High Quality and Durable
- Design and Applications of Single Thrust Ball Bearings in Machinery Systems