drywall ceiling access panel lowes
Links
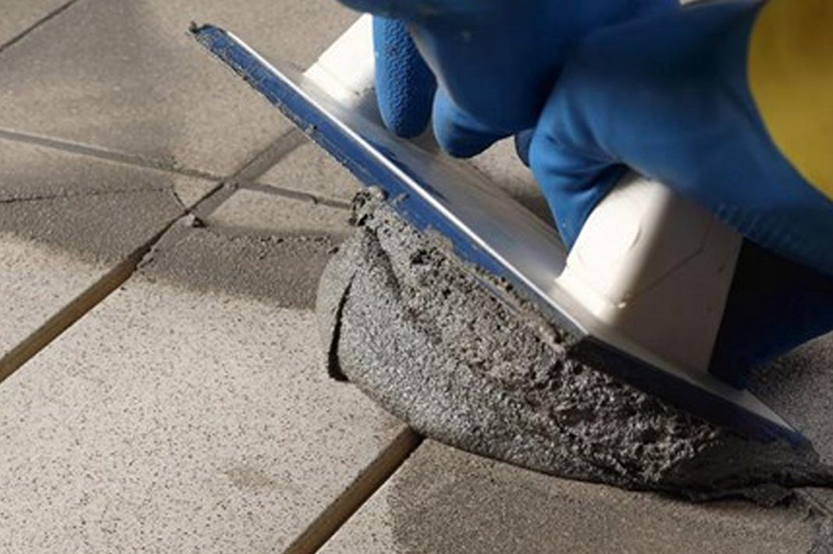
- HPMC is a water-soluble cellulose derivative that is widely used as a thickening agent, stabilizer, and emulsifier in various industries, including construction. It is derived from natural sources such as wood pulp and cotton, making it an environmentally friendly option for construction projects. The use of HPMC in construction has several advantages that make it a popular choice among builders and contractors.
-
- If you think there has been an overdose, call your poison control center or get medical care right away. Be ready to tell or show what was taken, how much, and when it happened.
- The solubility of HEC in cold water is typically slow, often requiring agitation or heating to facilitate dissolution

-
If I’ve inspired you to have a go at baking your own bread then check out one of my popular recipes here.
What else can hydroxypropyl methylcellulose be called?
 hpmc address. Being a bio-based and non-toxic material, it aligns with the growing demand for eco-friendly solutions. This green address positions HPMC as a responsible choice for manufacturers, contributing to a reduced environmental footprint.
  hpmc price. In times of increased demand, such as during construction booms or when there is a surge in the production of pharmaceuticals, the price of HPMC may rise due to limited supply. Conversely, during periods of decreased demand, prices may fall as suppliers compete to attract customers.
  Its solubility in cold water and thermal gelation properties enable the design of drug delivery systems that respond to physiological conditions, ensuring targeted and sustained release of medication Its solubility in cold water and thermal gelation properties enable the design of drug delivery systems that respond to physiological conditions, ensuring targeted and sustained release of medicationhydroxypropyl methyl cellulose ether.