grate ceiling
Popular on the whole site
Installing T-bar ceiling tiles is relatively straightforward, making them an attractive option for DIY enthusiasts and contractors alike. The process typically begins with planning the layout and determining the height of the ceiling. Accurate measurements and levels are essential to ensure even installation.
Selecting the appropriate size for a ceiling access panel is vital for ensuring that maintenance and repairs can be performed efficiently. An access panel that is too small may hinder access to essential systems, leading to potential issues down the line, such as costly repairs or inconveniences for building occupants. On the other hand, an oversized panel can create unnecessary visual disruptions in the ceiling’s aesthetics and can be a waste of valuable material.

One of the primary advantages of PVC laminated gypsum tiles is their durability. The PVC layer is resistant to moisture, making these tiles suitable for areas that experience high humidity, such as bathrooms and kitchens. Unlike traditional tiles that might absorb water and become damaged over time, PVC laminated tiles will maintain their integrity and appearance, even in challenging conditions. This water resistance is coupled with the inherent durability of gypsum, which can withstand everyday wear and tear.
Links
-
El sensor de presión de transmisión es un componente vital para el funcionamiento adecuado de los vehículos modernos. Su capacidad para monitorizar y ajustar la presión del fluido de transmisión es esencial para el rendimiento, la eficiencia del combustible y la seguridad del vehículo. Mantener este sensor en buen estado es fundamental para asegurar que la transmisión opere de manera suave y eficaz, prolongando así la vida útil del vehículo y mejorando la experiencia de conducción. En un entorno automotriz que está en constante evolución, entender y apreciar el papel de este sensor es crucial para todos los propietarios de vehículos y profesionales del mantenimiento automotriz.
-
- Preço Compare preços e busque por ofertas. Muitas vezes, concessionárias e fabricantes oferecem promoções que podem se ajustar ao seu orçamento.
-
Quality control is a paramount aspect of the cab assembly line. With modern vehicles incorporating advanced technology, such as safety features and connected systems, ensuring that each cab meets regulatory standards is crucial. Automated inspection systems utilizing artificial intelligence can detect defects and inconsistencies, allowing for immediate corrective actions. Additionally, periodic manual inspections by quality assurance teams help uphold the integrity of the manufacturing process.
-
3. Dodge Ram 1500 (1994-2001) The older Ram models are known for their distinctive styling and solid performance. They offer a spacious interior and a strong V8 engine option, making them a favorite for many.
used pickup trucks under 5000
-
966 loader for sale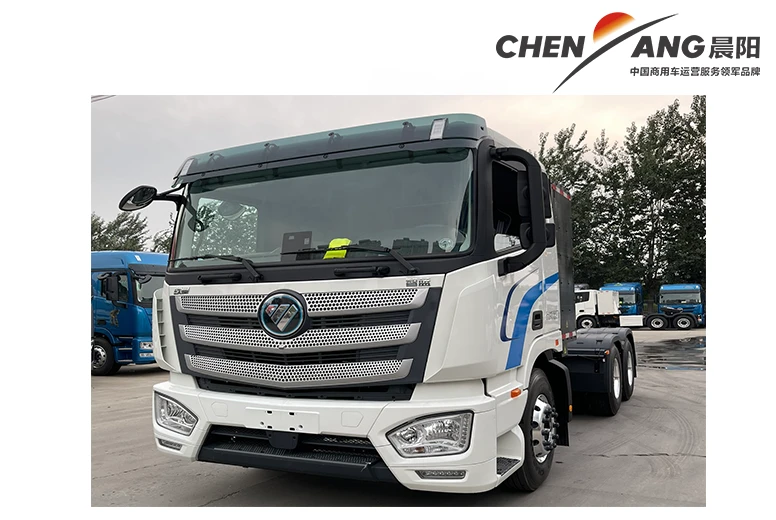
-
Another notable development is the integration of adjustable suspension systems. This flexibility allows drivers to tweak their setups depending on track conditions, enhancing performance and giving them a competitive edge. The adjustable chassis helps in optimizing the weight distribution and elevating the car's cornering capabilities, making it a game-changer in a sport where milliseconds can dictate victory or defeat.
-
At the heart of any heavy-duty truck is its engine. The specifications for the engine typically include displacement, horsepower, and torque ratings. Most heavy-duty trucks feature diesel engines due to their superior fuel efficiency and torque output. Engine displacements for heavy-duty trucks generally range from 10 to 15 liters, providing horsepower levels that can exceed 600 HP and torque ratings often around 2000 lb-ft. This power allows for optimal performance even when hauling substantial loads.
-
When it comes to off-roading, having the right tires can make all the difference. Among the various tire options available, mud terrain tires stand out as the go-to choice for enthusiasts who love to tackle the toughest terrains. But what exactly are mud terrain tires, and why should you consider them for your off-road adventures? Let’s explore this topic in detail.
-
All-Season Versatility
-
Despite their importance, designing effective cross members can be challenging. Engineers must consider multiple factors, including weight distribution, manufacturing costs, and compatibility with other vehicle systems. There is also the challenge of meeting safety and regulatory standards while ensuring that vehicles remain economically viable in a competitive market.
-
Traditionally, backhoes have been powered by diesel engines, which, while effective, contribute significantly to pollution and greenhouse gas emissions. As environmental awareness has grown, so too has the demand for cleaner, more efficient alternatives. The concept of electric backhoes emerged from the need to align construction practices with sustainable development goals.
-
4. Seeders and Planters These machines facilitate the precise planting of seeds at the correct depth and spacing, maximizing germination rates and yield potential. Advances in technology mean many seeders now come equipped with GPS for enhanced accuracy.
-
The heavy-duty truck sector in China has witnessed remarkable growth and transformation in recent years. As the backbone of the country's logistics and transportation industry, these vehicles are essential for moving goods across vast distances. With the rapid development of China's economy, the demand for heavy-duty trucks has surged, prompting manufacturers to innovate and improve their offerings.
-
उपायुक्ततेच्या बाबतीत, ST225/75R15 टायर विविध प्रकारच्या वाहनांमध्ये त्यांच्या सुलभतेमुळे वापरण्यात येतात. ट्रेलर, RVs, आणि मोठ्या SUVs यामध्ये हे टायर सामान्यतः वापरले जातात. त्यामुळे, या टायरचे महत्त्व आणि उपयोग लक्षात घेता, हे आपल्यासाठी योग्य निवड असू शकतात.
-
Maintenance and Management
-
Exploring Tube Chassis S10 for Sale The Perfect Blend of Performance and Style
-
The crankshaft is a key component that converts the linear motion of the pistons into rotational motion. As the pistons move, they push against the crankshaft, which turns and powers the drive mechanism connected to the propeller. A well-balanced crankshaft is crucial for smooth engine operation and minimizing vibrations.
-
The use of 3D printing technology is also on the rise, enabling the creation of complex geometries that were previously difficult or impossible to manufacture. This paves the way for lighter and more optimized cross member solutions, merging performance with cost-effectiveness.
-
Safety Features and Regulations
tower crane machine
-
4. Store Properly After use, store straps in a cool, dry place to prevent deterioration from exposure to UV rays and moisture.
-
7. Housing
-
Furthermore, GM is committed to improving its heavy-duty trucks continuously. By fostering a strong relationship with dealers, GM ensures that feedback from real-world applications is funneled back into product development. This collaboration leads to innovations that enhance performance, safety, and fuel efficiency, translating to better value for truck owners.
-
Additionally, advancements in technology have led to the development of precision agriculture tools. GPS-guided systems, drones, and soil sensors allow farmers to monitor their fields closely and apply inputs like fertilizers and pesticides more efficiently. This targeted approach not only maximizes yields but also minimizes environmental impacts by reducing the overuse of chemicals. By using these modern tools, farmers can make informed decisions based on real-time data, leading to healthier crops and better resource management.
equipment farm tools
-
Conclusion
-
Indoor showrooms often provide a wider array of used cars, as they can optimize space better than outdoor lots. A well-designed indoor showroom can present a diverse selection spanning different makes, models, and price ranges, all under one roof. This variety enables consumers to explore their preferences comprehensively, ensuring that they find the perfect fit for their needs without the hassle of traveling from one outdoor lot to another.
-
2. Nâng Cao Năng Suất và Chất Lượng Sản Phẩm
compact farm equipment
-
Several models stand out in the used truck market within this price range
. Here are some popular choices
-
La Durabilidad de los Neumáticos de Tractor
-
The Future of DSG Transmission
-
Consumer preferences are evolving rapidly. Today’s buyers are more informed and proactive, conducting extensive research before making a purchase. They are increasingly aware of the long-term benefits of owning a fuel-efficient vehicle, both in terms of savings at the pump and the vehicle's resale value.
-
1. Versatility A tower lift concrete mixer can adapt to different construction site requirements, allowing it to be used for various tasks, including residential buildings, commercial structures, and infrastructure projects.
-
As we venture beyond 2016, the concepts of 245% and 2070% continue to resonate. They challenge us to reassess our goals and push the boundaries of what we consider possible. The journey of self-improvement is an ongoing process, and embracing these ambitious aspirations can lead to groundbreaking developments in various aspects of life—be it in career, health, or personal relationships.
-
4. Check for Certifications Look for labels that indicate the oil meets industry standards, such as API (American Petroleum Institute) and ILSAC (International Lubricant Standardization and Approval Committee) certifications. This ensures that the oil has undergone rigorous testing and meets specified performance criteria.
-
2. Brand and Manufacturer The brand plays a crucial role in pricing. Established manufacturers with a strong reputation for quality and reliability often charge a premium for their products. However, they may also provide better warranties and after-sales services, which can justify the higher price.
-
The versatility of the 6T45 transmission makes it suitable for a variety of vehicles. It has been utilized in multiple models, including sedans, SUVs, and crossover vehicles. Notable examples include the Chevrolet Equinox, GMC Terrain, and the Buick Enclave, among others. Its application across these diverse models showcases its adaptability and the trust that GM places in its performance.
-
In summary, the role of soil cultivation machines extends beyond mere efficiency—they are a cornerstone of sustainable agricultural practices that hold the key to a more productive and environmentally responsible farming future. As we face increasing global food demands and environmental challenges, embracing these technologies will be crucial in cultivating the future of agriculture.
-
Understanding Car Gear Oil Importance, Types, and Maintenance
-
The camshaft controls the timing of the opening and closing of the engine’s intake and exhaust valves. It is driven by the crankshaft through a timing belt or chain. The precision in the camshaft's motion is vital for optimal engine performance, as it ensures that the valves open and close at the correct times in relation to the pistons’ position. Variability in camshaft design can lead to enhancements in engine efficiency and power output.
-
2. Purpose Identify what you plan to use the S10 for—be it daily driving, racing, or show. This will guide your decision in terms of features and specifications.
-
5. Toyota Yaris Known for its dependability, the Toyota Yaris is a small hatchback that combines efficiency with functionality. While prices can vary, it occasionally falls within the budget for budget-conscious buyers.
-
Conclusion
-
1. Frame Rails The frame rails are long, steel beams that run parallel to the length of the vehicle, serving as the primary structural support. They are designed to absorb and distribute loads evenly across the chassis, providing rigidity and strength.
-
The Evolution and Impact of Light-Duty Trucks
-
The automotive industry is increasingly turning to composite materials to optimize engine performance. Composites, such as carbon fiber and fiberglass, offer unique advantages
-
The 32-seater minibus has carved out a vital niche in the transportation industry, providing an ideal solution for group travel needs. Its combination of comfort, economic efficiency, versatility, and safety features make it an excellent choice for various applications. Whether for corporate events, school outings, or personal celebrations, minibuses offer a reliable and enjoyable way to travel together. As the demand for efficient and sustainable transportation continues to grow, the 32-seater minibus is poised to remain a popular and practical option for groups seeking to connect and journey together.
-
Consider Warranties and Insurance
-
Cost-Effectiveness
90 seater coach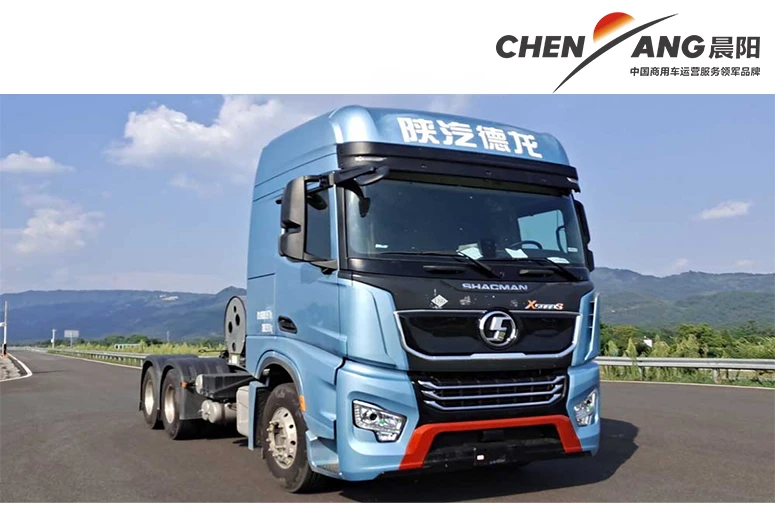
-
3. Cost-Effective Investing in a front wheel loader can yield substantial long-term savings by reducing labor costs and increasing productivity on site.
-
Choosing a vehicle that fits eight passengers is not just about finding adequate seating; it’s about enhancing the overall experience for everyone involved. Whether you opt for a minivan, SUV, full-size van, or crossover, the available options cater to various preferences and lifestyles. As families grow and groups form, having a reliable means of transportation that prioritizes comfort and safety becomes paramount. In today’s automotive landscape, the variety of vehicles accommodating eight passengers ensures that those shared journeys become cherished memories, filled with laughter and connection, no matter where the road takes you.
-
The versatility of the 24-seater minibus cannot be overstated. It can be utilized for a myriad of functions – corporate events, weddings, festivals, airport transfers, and more. For wedding parties, a minibus can ensure that guests arrive at the venue together, fostering a sense of unity and excitement among attendees. Its size is also ideal for shuttling guests between the ceremony and reception locations.
- Angular Contact Ball Bearings Product Guide and Specifications Overview
- 28580 bearing
- weizi bearing bearing ball deep groove
- Roulements à contact angulaire - Performance et Précision
- weizi bearing bearing pressing machine
- weizi bearing cylindrical roller bearing supplier
- weizi bearing nj 206 bearing
- weizi bearing 23244 bearing
- Similar title to 4T L44649 Bearing can be Replacement Bearing for 4T L44649, High Quality and Durable
- Design and Applications of Single Thrust Ball Bearings in Machinery Systems