mineral fibre board ceiling
1. Planning and Measurement Before installation, it’s crucial to measure the area accurately and determine the layout of the grid. This involves calculating the weight of the drywall and identifying necessary support points.
2. Measure and Cut Measure the size of the access panel and cut the appropriate opening in the drop ceiling grid. Precise measurements will ensure a snug fit and prevent complications later.
4. Installing the Hatch Position the access hatch into the opening, ensuring it is level and flush with the ceiling. Secure it according to the manufacturer's instructions, which may involve screws or adhesive.
In addition to understanding the grid structure, it is equally important to recognize the standard dimensions of ceiling tiles that fit within these grids. The most prevalent sizes for ceiling tiles are 2 feet by 2 feet and 2 feet by 4 feet. These dimensions align perfectly with the T-bar grid system, allowing for easy installation and a seamless appearance.
t bar ceiling grid dimensions
After cutting the opening, it’s time to install the frame of the access panel. Many access panel kits come with a frame that you can insert into the opening. Position the frame into the cut-out area and secure it with screws. Ensure that it is level and flush with the surrounding ceiling to provide a clean finish.
Popular articles
- 1
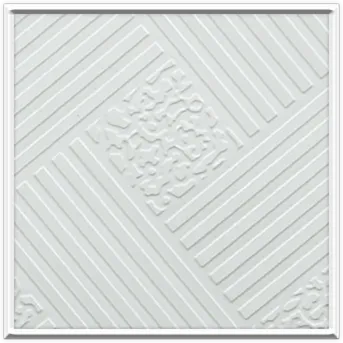
The Rise of Laminated Ceiling Boards A Modern Solution for Interior Design
- 2
What is a PVC Grid False Ceiling?
- 3
PVC ceilings, meanwhile, come in a wide variety of colors, patterns, and finishes. They can mimic the look of wood, marble, or metal at a fraction of the cost. This versatility allows homeowners to achieve different decor styles easily. However, some may find the appearance of PVC less sophisticated than gypsum, particularly in upscale environments.
- 4
Access panels for drywall ceilings play a pivotal role in building maintenance and functionality. By providing easy access to essential systems, these panels not only improve efficiency but also contribute to the aesthetic integrity of the space. Understanding the types and installation methods of access panels enables property owners, builders, and maintenance teams to make informed decisions that promote the longevity and safety of the building.
- 5
- Residential Use In homes, these panels are commonly installed in bathrooms or laundry rooms to access plumbing and electrical systems. They can also be used in attics or basements for ease of access to HVAC systems.
- 6
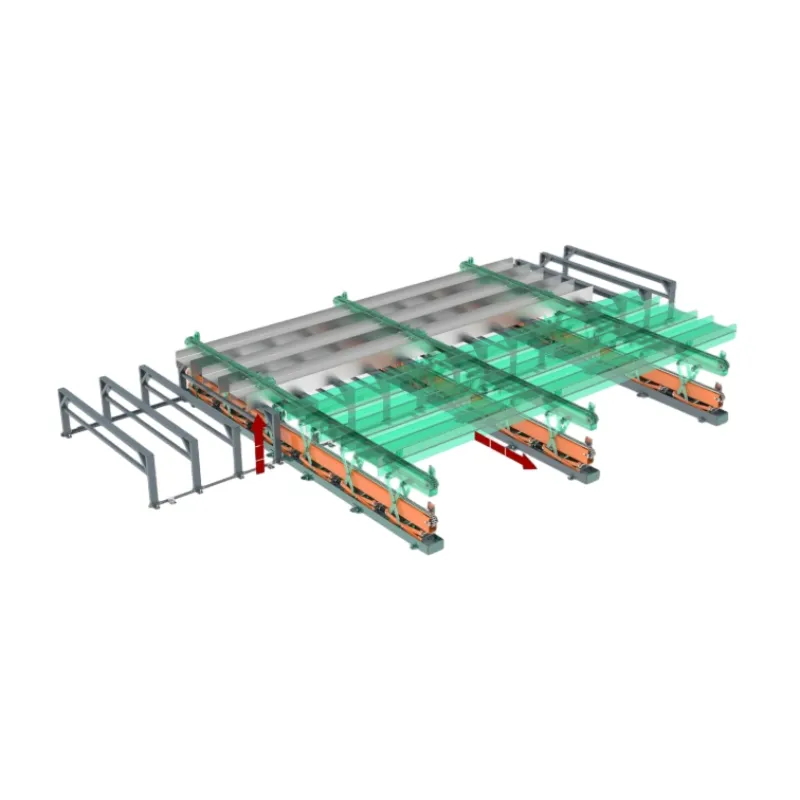
The installation process for suspended ceiling tees involves several steps
- 7
In addition to their aesthetic qualities, metal grid ceiling panels can be engineered to provide excellent acoustic performance. By incorporating sound-absorbing materials into the design, these panels can help manage noise levels in busy environments, enhancing overall comfort. The open grid structure can also facilitate the flow of air, making these ceilings effective in spaces where ventilation is crucial.
- 8
Installation Process
gyprock ceiling access panels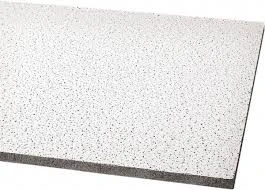
- 9- Measuring tape
- 10
What is Gyproc PVC False Ceiling?