drop ceiling tile grid
-
Once you have identified the location, it's essential to measure the dimensions of the access panel. Standard access panels typically come in sizes ranging from 12x12 inches to 24x24 inches. Use your measuring tape to outline the shape of the panel on the ceiling with a pencil. Ensure that the markings are square and level for a neat fit.
how to make access panel in ceiling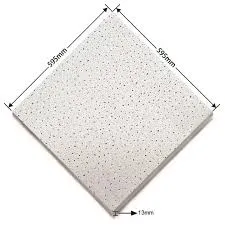
...
2. Creating a Layout Using the measurements, create a layout for the grid. This involves marking the perimeter of the ceiling, where the main runner channels will be placed, and identifying the locations for the cross tees that support the tiles.
Having these tools on hand will make the installation process smoother and help ensure a clean, professional-looking result
.Easy Installation
3. Grid Assembly Once the hangers are installed, assemble the grid by connecting the various components, such as main runners and cross tees. Ensure everything is level, adjusting as necessary to maintain an even surface.
2
. Aesthetic Appeal