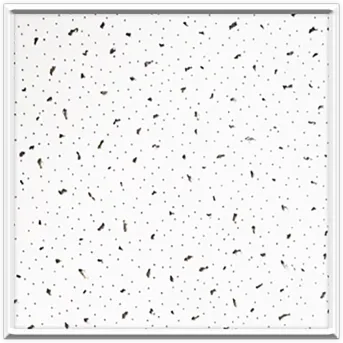
how to install access panel in drywall ceiling
Popular on the whole site
1. Location The hatch should be installed in an easily accessible location. Careful planning is necessary to avoid placing hatches directly over fixtures or furniture.
- Tools Required Common tools for installation include a saw, screws, a level, and a measuring tape. Ensure you have all the necessary tools on hand before starting.
One of the most significant advantages of implementing a T runner ceiling is its versatility. This design can adapt seamlessly to various environments, from commercial spaces and modern offices to residential settings and creative studios. The clean lines and geometric patterns can foster a contemporary vibe, while also allowing for customization—designers can play with different materials, colors, and placements to achieve the desired ambiance. For instance, incorporating wood elements can add warmth, while metallic finishes can lend a sleek, industrial edge.
t runner ceiling
Tee bar ceiling grid systems are designed for quick and straightforward installation. The method allows contractors to lay the grid framework without intricate tools or extensive labor. Furthermore, if a tile needs replacement or maintenance, it can be easily removed and substituted without disrupting the entire grid system.
Creating a ceiling access panel is a straightforward and rewarding project that can save you from future headaches associated with maintenance tasks. By following the steps outlined above, you can create a functional, aesthetically pleasing access point in your home. Always remember to take necessary safety precautions, and enjoy your new DIY addition!
Links
-
Moreover, these lights have gained traction in event planning. Weddings, parties, and corporate events benefit from the installation of customizable LED neon designs that enhance the ambiance. The ability to choose colors and designs that complement a theme can transform any environment into a visually appealing experience.
-
Choosing the Right Manufacturer
-
This energy efficiency not only contributes to lowering electricity bills but also aligns with the increasing demand for sustainable practices in lighting. As homeowners and businesses become more conscious of their environmental footprint, opting for LED neon lights represents a responsible choice that combines style and sustainability.
high quality neon tube light led
-
2. Documentation Manufacturers must compile a technical file that includes product specifications, test reports, and declarations of conformity.
-
LED split neon lights offer significant advantages over traditional lighting alternatives. One of the most notable benefits is their energy efficiency. LED technology consumes considerably less power than incandescent or fluorescent bulbs, leading to reduced energy bills and lower environmental impact. Furthermore, the long lifespan of LED lights, often exceeding 25,000 hours, means reduced replacement costs and less waste.
-
In the export business, building strong relationships with clients and partners is crucial. A handwritten letter showcases effort, sincerity, and personal attention, qualities that are often lost in digital communication. It reinforces connections and can differentiate your business in a competitive market. A well-crafted letter not only conveys information but also embodies your brand's commitment to quality and attention to detail.
-
2. Material Selection The choice of materials is critical to the performance of seal strips. Manufacturers evaluate various materials based on their durability, flexibility, and resistance to aging and environmental factors. High-quality materials result in better sealing performance and lower maintenance costs.
-
5. Sound and Vibration Damping Silicone sealing strips also offer excellent sound absorption and vibration damping capabilities. This feature is particularly valuable in applications where noise reduction is a priority, such as in automotive interiors or industrial machinery.
-
Another significant trend is the move towards smart lighting solutions. As part of the Internet of Things (IoT) evolution, smart lighting allows users to control lighting systems via apps or voice commands, creating a more personalized and efficient experience. Features such as color-changing LEDs and automated brightness adjustments have become highly sought after, making smart lighting an indispensable facet of modern design.
hot sale-lighting source manufacturer
-
The Importance of Door Bottom Threshold Seal Strips and Leading Manufacturers
-
4. Quality and Brand Reputation Like many products, the quality and brand reputation significantly influence price. Established brands with a track record of quality and durability typically charge more than cheaper alternatives. Investing in a reputable brand can ensure longevity and consistent performance.
-
1. Rubber Seal Strips Known for their durability and flexibility, rubber seal strips are a popular choice. They can easily conform to gaps, providing an effective barrier against drafts.
-
Bunnings offers a wide range of sponge seal products to cater to different customer needs. Some popular options include adhesive sponge strips, which are easy to apply and perfect for DIY projects. These strips come in various widths and thicknesses, allowing customers to choose the best fit for their specific application.
sponge seal bunnings companies
-
Moreover, the certification process encompasses various aspects, including mechanical properties, chemical stability, and environmental impact. For high polymer materials, which can significantly affect both human health and the ecosystem, undergoing CE certification is critical. By ensuring that materials meet established standards, manufacturers minimize the risk of liability claims related to product failure or environmental damage.
ce cetification high polymer material sign
-
Installing door seal strips is generally a straightforward task, making it an excellent DIY project for homeowners. Here’s a step-by-step guide
-
1. Superior Insulation 3M weather seal strips are engineered with advanced materials that provide excellent insulation. This quality ensures that homes and businesses remain warm in winter and cool in summer, significantly reducing the reliance on heating and cooling systems. Consequently, users can enjoy lower energy bills.
-
1. Packaging In the packaging sector, these strips are often used for creating durable, reliable packaging solutions. Their strength allows for secure closure of boxes and containers, ensuring that products remain safe during transportation.
-
Environmental Impact
-
When it comes to personalizing and enhancing the aesthetic appeal of a vehicle, car enthusiasts are always on the lookout for stylish accessories that can elevate their ride's appearance. One such accessory that has gained significant popularity is the chrome trim strip. Specifically, the demand for China chrome trim strips has surged due to their affordability, availability, and versatility. This article explores the key features, benefits, and considerations of incorporating chrome trim strips into your vehicle's exterior.
-
The Versatility and Benefits of China Silicone Sponge Seals
-
Understanding CE Certification
-
Conclusion
-
Energy Efficiency
-
Aluminum channel letters are a popular choice for businesses seeking to create striking and memorable signage. These three-dimensional letters are made from durable aluminum and often illuminated from within, making them an effective way to grab attention, especially at night. However, to get the best results from aluminum channel letters, it’s important to understand how to effectively use them in various applications. Here, we delve into the best hand use of aluminum channel letters, focusing on design, placement, and maintenance.
-
4. Home Appliances Many household devices, like refrigerators and washing machines, utilize transparent waterproof strips to ensure tight seals.
-
5. Installation Complexity Some door seal strips come with adhesive backing for easy installation, while others may require professional installation, adding to the overall cost. The complexity of installation can influence your choice in purchasing the product, particularly for those who prefer DIY projects.
-
Bunnings Warehouse is one of Australia’s leading retailers for home improvement, garden supplies, and hardware. Known for its extensive range of products and exceptional customer service, Bunnings stocks a variety of door seal strips designed to meet diverse needs. These seal strips come in various materials such as rubber, foam, and PVC, catering to different preferences and requirements.
-
Most shower glass frame seal strips are made from flexible PVC, rubber, or silicone. Each material has its own set of benefits. For instance, silicone offers excellent durability and resistance to extreme temperatures, making it particularly suited for bathroom environments. PVC, while often more affordable, may not offer the same level of flexibility or longevity. CE certified seal strips will typically indicate the material used and its compliance with relevant European standards for safety and performance.
ce cetification shower glass frame seal strip
- - Thermal Management Ensure that the power supply has efficient thermal management features to prevent overheating, especially in enclosed spaces.
-
Best Door Seal Strip Service Ensuring Energy Efficiency and Comfort
-
For those who appreciate a more sophisticated look, there are elegant designs featuring abstract forms or sleek lines that can complement modern decor. These lights can also serve as art pieces, creating a stunning focal point in any room.
best led neon night light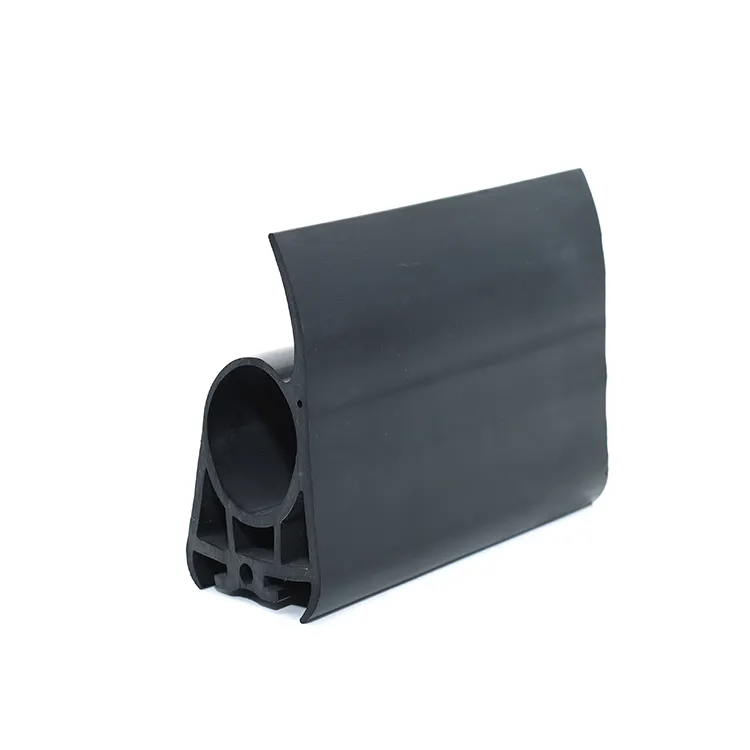
-
In the realm of construction and home improvement, the significance of sealing windows cannot be overstated. Proper window seals not only enhance energy efficiency but also contribute to the overall comfort of a home. Among the various types of sealing solutions available, rubber strip window seals stand out due to their flexibility, durability, and ease of installation. This article will explore the world of rubber strip window seal factories, highlighting their importance, production processes, and the advantages of using rubber seals in residential and commercial settings.
-
4. Noise Reduction
-
Key Applications
-
- Increased Comfort A well-sealed door helps maintain a more consistent indoor temperature, ensuring that spaces remain comfortable in both hot and cold weather conditions.
- - Cost-Effective Typically, 6mm materials tend to be more cost-effective, providing a good balance between quality and affordability. This makes them an appealing option for homeowners looking to enhance their spaces without overspending.
-
5. Finishing Touches After the letters are assembled and lit, they undergo finishing touches. This may include polishing the surface, applying protective coatings, or adding any necessary mounting hardware. The final product is then thoroughly inspected to ensure it meets quality standards.
-
Manufacturers of thin rubber seal strips typically employ innovative materials and advanced manufacturing techniques. Quality raw materials such as EPDM (ethylene propylene diene monomer), silicone, and neoprene rubber are commonly used to produce seal strips that can withstand various environmental conditions. These materials provide the required flexibility, durability, and resistance to UV radiation, ozone, and temperature fluctuations. Manufacturers must ensure that their products meet stringent quality standards to guarantee performance and longevity.
-
In a competitive lighting market, manufacturers of flexible neon LED strip lights must prioritize CE certification. This not only ensures compliance with safety and quality standards but also enhances consumer confidence and marketability. As the demand for innovative and versatile lighting solutions continues to grow, so too will the importance of adhering to these essential regulations. By committing to CE certification, manufacturers not only protect their consumers but also their own business interests, paving the way for sustainable growth in a rapidly evolving industry.
-
Anwendungsbereiche
-
1. Preparation Clear the area of furniture and ensure the floor is ready to be worked on. This may involve sweeping or vacuuming to remove surface debris.
-
The Importance of OEM Shower Wall Seal Strips in Modern Bathrooms
-
3. Energy Efficiency LED technology powers most OEM side light channel letters, making them energy-efficient compared to traditional neon signs. LEDs consume less power, last longer, and require minimal maintenance, making them a cost-effective signage solution.
-
The Vibrant World of Custom Neon LED Lights
-
As businesses become more environmentally conscious, the trend towards sustainable materials is gaining momentum. The PVC industry is responding by exploring alternative formulations that reduce the environmental footprint of PVC products. Furthermore, innovations in manufacturing techniques focused on energy efficiency and minimized waste may lead to more competitive pricing in the future.
-
4. Sustainability Practices As environmental concerns become increasingly important, consider manufacturers who prioritize sustainable practices in their production processes. Biodegradable or recyclable options may be available.
-
2. Conduct Testing Products must undergo comprehensive testing to demonstrate compliance with relevant standards. This may involve third-party testing by accredited laboratories, where LEDs are evaluated for durability, safety, and energy efficiency.
-
In conclusion, car interior trim light strips are more than just decorative elements; they contribute to a comfortable, stylish, and enjoyable driving environment. With their affordability, ease of installation, and functional benefits, it’s no wonder that these light strips have found a place in the hearts of car enthusiasts everywhere. Whether for aesthetic purposes, practical benefits, or a combination of both, these innovative lighting solutions provide a compelling reason to rethink the way we perceive our vehicles' interiors.
-
The versatility of flexible LED neon light products is one of their most significant selling points. They can be used in various applications, from illuminated signage and ambient lighting to artistic installations and event decorations. Companies harnessing flexible LED neon technology can offer customized solutions tailored to meet specific customer demands, enhancing brand visibility and creating memorable experiences. Additionally, these lights come in various colors and brightness levels, allowing for complete personalization to match various themes and aesthetics.
- - Weight The heavier nature of 8mm panels may complicate installation, requiring stronger framing and more labor.
- Effective Security Solution with Anti-Theft Barbed Wire Mesh for Enhanced Protection
- Manufacturers producing iron wire coil under HS code for global distribution.
- High-Capacity 300 Gallon Stainless Steel Water Storage Solution for Various Needs
- Exploring the Benefits and Applications of Plastic GI Sheets in Modern Construction Projects
- Durable PVC Coated Square Wire Mesh for Various Applications and Enhanced Outdoor Longevity
- High Capacity 1000 Liters Stainless Steel Water Tank for Reliable Storage Solutions
- Durable Hexagonal Wire Netting with PVC Coating for Enhanced Outdoor Protection and Versatility
- Nylon Window Screen Manufacturing Facility for Quality and Durability Solutions in Home Improvement
- Design Considerations for Anchoring Deformed Bars in Construction Applications and Structural Integrity
- Innovative Strategies for Enhancing Efficiency and Performance in Cooling Tower Systems Today