false ceiling sheets price
Popular on the whole site
A ceiling access panel is a practical addition to any home, allowing easy access to essential systems without the need for invasive renovations. Always ensure safety while cutting and fitting materials, and do not hesitate to seek professional help if needed. With this guide, you should be well on your way to installing an effective access panel that serves your needs while enhancing the functionality of your living space. Happy building!
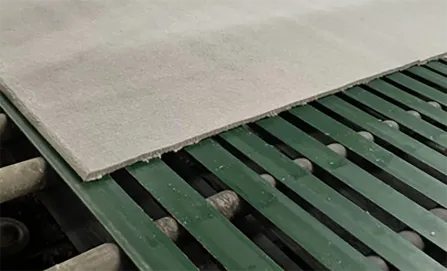
Gypsum ceilings, commonly referred to as drywall ceilings, are made from gypsum plaster sandwiched between two sheets of thick paper. This traditional ceiling option is known for its smooth finish and versatility in design. Gypsum ceilings can be painted, textured, or even fitted with intricate designs, allowing for a wide range of aesthetic options.
4. Durability Sheetrock panels are not only designed for aesthetics but are also built to endure wear and tear. When properly installed and maintained, they can remain functional for many years, withstanding the impacts and stresses that often affect ceilings.
sheetrock ceiling access panel
A ceiling access panel door is one that is installed in the ceiling structure of a building. Its primary function is to provide easy access to the areas above the ceiling, such as ductwork, plumbing, electrical systems, and other hidden infrastructure. Made from various materials like metal, plastic, or gypsum board, these access panels can be designed to blend seamlessly with the ceiling or be more pronounced, depending on the aesthetic goals of the space.
When it comes to home renovations and maintenance, the installation of a ceiling access panel can be an essential task. This panel provides easy access to plumbing, electrical wiring, or HVAC systems hidden above the ceiling, allowing for repairs and inspections without extensive damage to your existing structures. Whether you are a seasoned DIY enthusiast or a novice, this guide will walk you through the process of installing a ceiling access panel step by step.
1. Planning Before beginning, measure the area to determine how many grid sections and tiles you will need. Create a layout plan to ensure an even distribution.
There are several types of ceiling access panels available in the market. The choice of panel often depends on the specific needs of a building and the systems accessed. Some common types include
4. Specialty Grids These grids offer unique designs and finishes, catering to specific aesthetics or functional needs. For instance, grids with integrated lighting can enhance the look of a ceiling while minimizing installation time.
Step 3 Cut the Opening
Understanding False Ceilings