gypsum pvc laminated tiles
Links
-
Moreover, the brand reputation of the shingles can significantly impact their price. Established brands that have proven their reliability and quality often charge a premium for their products. Homeowners should consider the benefits of investing in a reputable brand, as this often correlates with greater durability and warranty coverage, potentially leading to lower long-term costs.
-
Once you've compiled a list of potential contractors, ensure they are licensed and insured. A valid license indicates that the contractor meets the necessary state requirements, while insurance protects you in case of accidents or damage during the job. Request proof of both and verify their validity with the appropriate state or local licensing board.
-
When it comes to roofing materials, asphalt shingles are one of the most popular choices among homeowners. They are favored for their affordability, durability, and wide range of styles and colors. However, when considering a roofing project, a common question that arises is, What is the cost of asphalt roof shingles per square? This article aims to provide an overview of the costs associated with asphalt shingles and what factors can influence these prices.
-
The Average Cost of Replacing an Asphalt Shingle Roof
-
In addition to their sustainable aspects, blue clay ridge tiles offer practical benefits. Their robust nature resists cracking and chipping, making them suitable for high-traffic areas. Furthermore, their thermal properties help in maintaining indoor temperatures, providing a degree of energy efficiency, particularly in climates with extreme temperatures.
-
When it comes to interior design, the choice of materials can significantly influence the mood and functionality of a space. Among the various options available, blue clay ridge tiles have emerged as a captivating choice for both aesthetics and practicality. Their unique color and texture not only enhance the visual appeal of a setting but also provide a durable and sustainable solution for flooring and wall applications.
-
On average, homeowners can expect to pay between $90 to $100 per square for three-tab shingles, including materials and installation, though this can vary. The national average cost per square foot (10x10 feet) typically lends itself to a price range of $0.80 to $1.60 for the shingles alone. This makes them a budget-friendly option, especially for homeowners looking to minimize their roofing expenses.
- - Chalk line for straight lines
-
Beyond functional use, the design possibilities with flat pebble mosaic tiles are virtually limitless. Designers often play with color, size, and patterns to create stunning visual effects. A mix of light and dark pebbles can be arranged in swirling patterns, geometric designs, or even abstract art. These tiles can also be combined with other materials, like glass or ceramic, to enhance their appeal and create unique contrasts. The result is a mosaic that is not only a functional surface but also a stunning focal point.
flat pebble mosaic tiles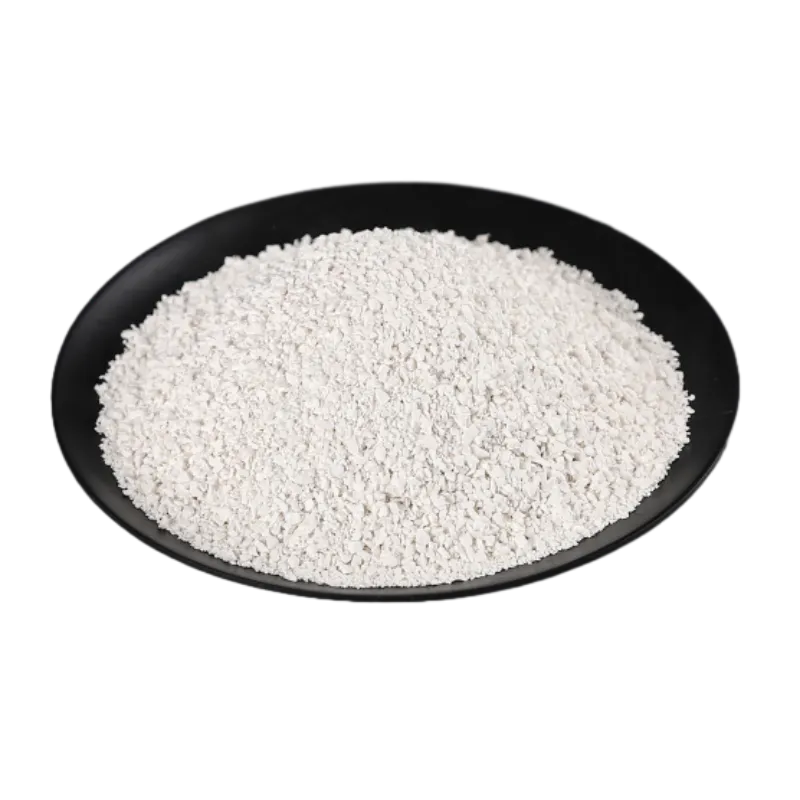
-
Materials and Tools Needed
-
While no roofing material can claim immunity from the effects of severe weather, 30-year asphalt shingles are engineered to withstand environmental stresses such as rain, wind, and snow. With proper installation and regular maintenance, they can offer excellent resistance to roof wear, contributing to a secure and protective shelter for your home.
-
4. Install the First Row of Shingles
-
When it comes to roofing materials, flat roof clay tiles stand out as a sustainable, aesthetically pleasing, and durable option. Clay tiles have been used in construction for centuries, but their transition to flat roofs represents a modern twist on a classic material. This article explores the benefits, applications, and considerations of using flat roof clay tiles in contemporary architecture.
-
3. Climate Conditions The local climate plays a vital role in the durability of roofing materials. For instance, in areas with extreme temperatures, heavy snowfall, or frequent storms, roofs may wear out more quickly. UV exposure from direct sunlight can also degrade the shingles prematurely.
-
Performance of white roofing granules in different climates
- - Susceptible to algae growth and UV damage
-
Understanding the Factors Affecting Price
-
3. Energy Efficiency Many fiberglass laminate shingles are designed with reflective surfaces that help in reducing heat absorption. This characteristic can contribute to energy savings by keeping your home cooler during the hot summer months. Consequently, homeowners can benefit from lower air conditioning costs while minimizing their environmental footprint.
-
In conclusion, Double Roman is more than just a typeface; it embodies a philosophy of design that values both beauty and utility. Its timeless nature and versatility ensure that it will continue to be a cherished choice for designers and typographers alike for years to come.
-
What Are Architectural Shingles?
-
You may need to cut shingles to fit at the edges, valleys, or chimneys. A utility knife works well for this task. Be sure to measure accurately before cutting to minimize waste and achieve a clean fit.
-
In an age where sustainability is a growing concern, concrete flat tiles shine as an environmentally friendly option. Concrete is made from abundant natural resources and is fully recyclable, contributing to a reduced environmental footprint. Additionally, these tiles can enhance a building’s energy efficiency. Their thermal mass helps regulate indoor temperatures by absorbing heat during the day and releasing it at night, leading to lower energy consumption for heating and cooling.
-
In conclusion, architectural shingles can offer robust protection for your home for 25 to 50 years, depending on various factors like quality, installation, climate conditions, and maintenance practices. By investing in high-quality shingles and ensuring they are properly installed and maintained, homeowners can enjoy the aesthetic and functional benefits of architectural shingles for many years to come. Regular inspections and timely repairs can go a long way in maximizing the life of your roof, ensuring that your home remains safe and secure against the elements.
-
3. Architectural Shingles These are a step up in terms of both appearance and durability. Architectural shingles are thicker and have a more dimensional look than standard asphalt shingles. They usually cost between $100 and $150 per square, making them a mid-range option.
-
Conclusion
-
In the ever-evolving world of construction and architecture, roofing materials have taken significant strides towards innovation and sustainability. Among these modern solutions, shake and tile steel roofing has gained considerable attention for its aesthetic appeal, durability, and performance. This article explores the benefits of shake and tile steel roofing, highlighting why it might be the ideal choice for your next construction or renovation project.
-
Rubberized shingles have emerged as a popular choice in roofing materials, offering numerous advantages over traditional options. As homeowners seek durable, cost-effective, and environmentally friendly solutions for roofing, rubberized shingles present a compelling alternative that combines functionality with aesthetic appeal.
-
- Professional Installation While DIY projects can be rewarding, hiring a professional roofer experienced in handling 1% square shingles can ensure that the installation meets industry standards and improves the longevity of your roof.
-
Aside from the price per tile, consumers should also factor in installation costs, which can vary based on the complexity of the project and the professional hired. It is advisable to get estimates from multiple contractors to ensure a fair rate. In some cases, DIY installation may be feasible for those with experience and the right tools, potentially saving on costs.
-
5. Low Maintenance Asphalt roofing panels require minimal maintenance compared to other roofing materials. Regular inspections and cleaning can help extend their lifespan, but they do not require the same level of upkeep as products like wood shingles, which may need to be treated for pests and rot.
asphalt roofing panels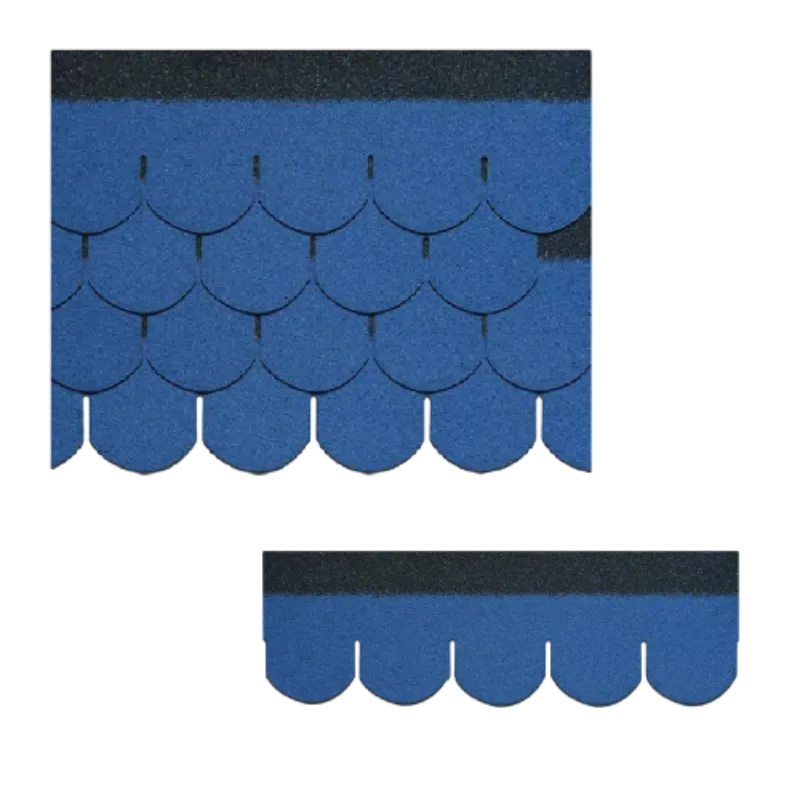
- - A pry bar
- - Underlayment (felt paper or synthetic)
-
Green Asphalt Roll Roofing A Sustainable Solution for Modern Roofing Needs
-
One of the primary reasons homeowners opt for metal roofs resembling asphalt shingles is the visual appeal. Asphalt shingles have long been the go-to roofing material due to their classic look and versatility. However, the introduction of metal roofing that replicates this style allows homeowners to enjoy the same aesthetic without sacrificing quality. Manufacturers use advanced printing technologies and textures to create metal shingles that closely resemble their asphalt counterparts, offering a seamless blend of tradition and modernity.
-
Conclusion
-
As global temperatures continue to rise, the importance of energy-efficient building practices has never been more pronounced. One innovative solution gaining traction in the roofing industry is the application of cool roof coatings for asphalt shingles. This article explores the benefits, application process, and long-term advantages of using cool roof coatings to enhance the performance of asphalt shingle roofs.
-
One of the standout benefits of metal barrel tile roofs is their remarkable durability. Unlike traditional clay or concrete tiles, which can be heavy and prone to cracking, metal options are lightweight yet incredibly strong. They can withstand harsh weather conditions, including high winds, hail, and heavy snowfall. Additionally, metal roofs are resistant to rust and corrosion, especially when galvanized or coated with protective finishes. This extends their lifespan even further, often exceeding 50 years with proper maintenance—significantly longer than conventional roofing materials.
-
As consumers become more aware of their choices, there is a growing trend toward bespoke and handmade elements in design. Clay peg tiles can easily be customized to suit individual tastes and preferences. Artisans can create unique patterns or even incorporate personalized designs, allowing homeowners to express their creativity in their living spaces.
-
Asphalt Shingles
-
Another aspect to consider is the warranty provided by the manufacturer. Many asphalt shingle manufacturers offer warranties ranging from 20 to 50 years, depending on the type of shingle. While warranties can provide some protection, it's important to read the fine print, as certain conditions must be met for the warranty to remain valid, including proper installation and regular maintenance.
-
Signs Your Roof Needs Attention
-
Modern Aesthetics
-
While flat roof tiles present numerous advantages, proper installation is critical to avoid potential issues such as pooling water and leaks. Here are some key considerations
-
The Price Trends
-
Installation of half Roman tiles is another aspect that highlights their practicality. These tiles can be laid in a straightforward manner, with a unique interlocking mechanism that enhances their stability. This ease of installation not only reduces labor costs but also allows for quicker project completion. For DIY enthusiasts, installing half Roman tiles can be a rewarding experience, offering a creative outlet while improving the aesthetic of their homes.
-
Additionally, clay tiles are fireproof, providing an added layer of safety for property owners. Their ability to resist fading, cracking, and other forms of deterioration means that once installed, they often do not need to be replaced, making them a cost-effective solution in the long run.
-
The Benefits of Asphalt Roofing for Sale
-
Aesthetic Appeal
-
Double Roman Antique Brown is characterized by its deep, warm undertones. It evokes an air of sophistication and timelessness, reminiscent of the luxurious materials used in ancient Roman architecture and art. The shade brings to mind the rich browns of aged wood and ancient stone, elements that have stood the test of time, finding beauty in their patina. In modern design, this color can create a harmonious balance between elegance and comfort, serving as a perfect backdrop for both classic and contemporary elements.
-
The Historical Context
- Angular Contact Ball Bearings Product Guide and Specifications Overview
- 28580 bearing
- weizi bearing bearing ball deep groove
- Roulements à contact angulaire - Performance et Précision
- weizi bearing bearing pressing machine
- weizi bearing cylindrical roller bearing supplier
- weizi bearing nj 206 bearing
- weizi bearing 23244 bearing
- Similar title to 4T L44649 Bearing can be Replacement Bearing for 4T L44649, High Quality and Durable
- Design and Applications of Single Thrust Ball Bearings in Machinery Systems