ceiling access panels
-
Light Reflectance – With their high light reflective value, it’s no wonder that acoustical ceilings are the ideal choice for suspended ceiling solutions – they create a more appealing and brighter space as a result. More light returned means a brighter space with less indirect lighting, reduced energy consumption and happier clients. A high light-reflectance ceiling can contribute to lower energy costs and consumption.
...
Popular articles
- 1
The Aesthetic Appeal
- 2
4. Durability Sheetrock panels are not only designed for aesthetics but are also built to endure wear and tear. When properly installed and maintained, they can remain functional for many years, withstanding the impacts and stresses that often affect ceilings.
sheetrock ceiling access panel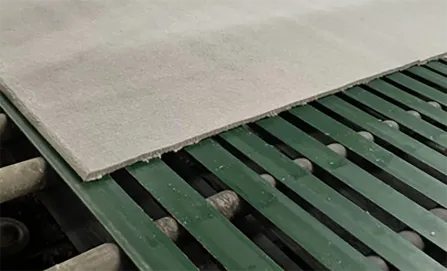
- 3
- 20mm/square edge - Pattern No: 1420S
- 4
Suspended ceiling tees represent a vital aspect of modern ceiling installations, combining functionality with aesthetic flexibility. Understanding their types, installation process, and benefits can greatly assist in making informed decisions for architectural designs. Whether in a commercial space requiring soundproofing or a residential setting needing aesthetic appeal, suspended ceiling tees offer a versatile and effective solution.
- 5
Gypsum board, used in a grid system, provides a sleek and seamless look that can elevate a room's appearance. This material is known for its fire-resistant properties and its ability to provide a smooth, flat surface for painting or wallpapering. The simplicity of gypsum board allows for creative lighting solutions, as it can easily accommodate recessed lighting fixtures. Leading brands in this category include USG and National Gypsum, which focus on quality and performance.
- 6
Installation Considerations
- 7
5. Finishing Touches Finally, finish the edges with joint compound and paint as necessary to ensure it blends in seamlessly with the ceiling.
- 8
Ceiling access panels come in various sizes to cater to different needs within a building. The most common standard sizes include
- 9
Environmental Considerations
- 10
Laminated gypsum boards are widely used in various applications, including
Links
-
Advantages of Electric Heating Pads
-
Size Matters
-
Temperature Control
choice electric blanket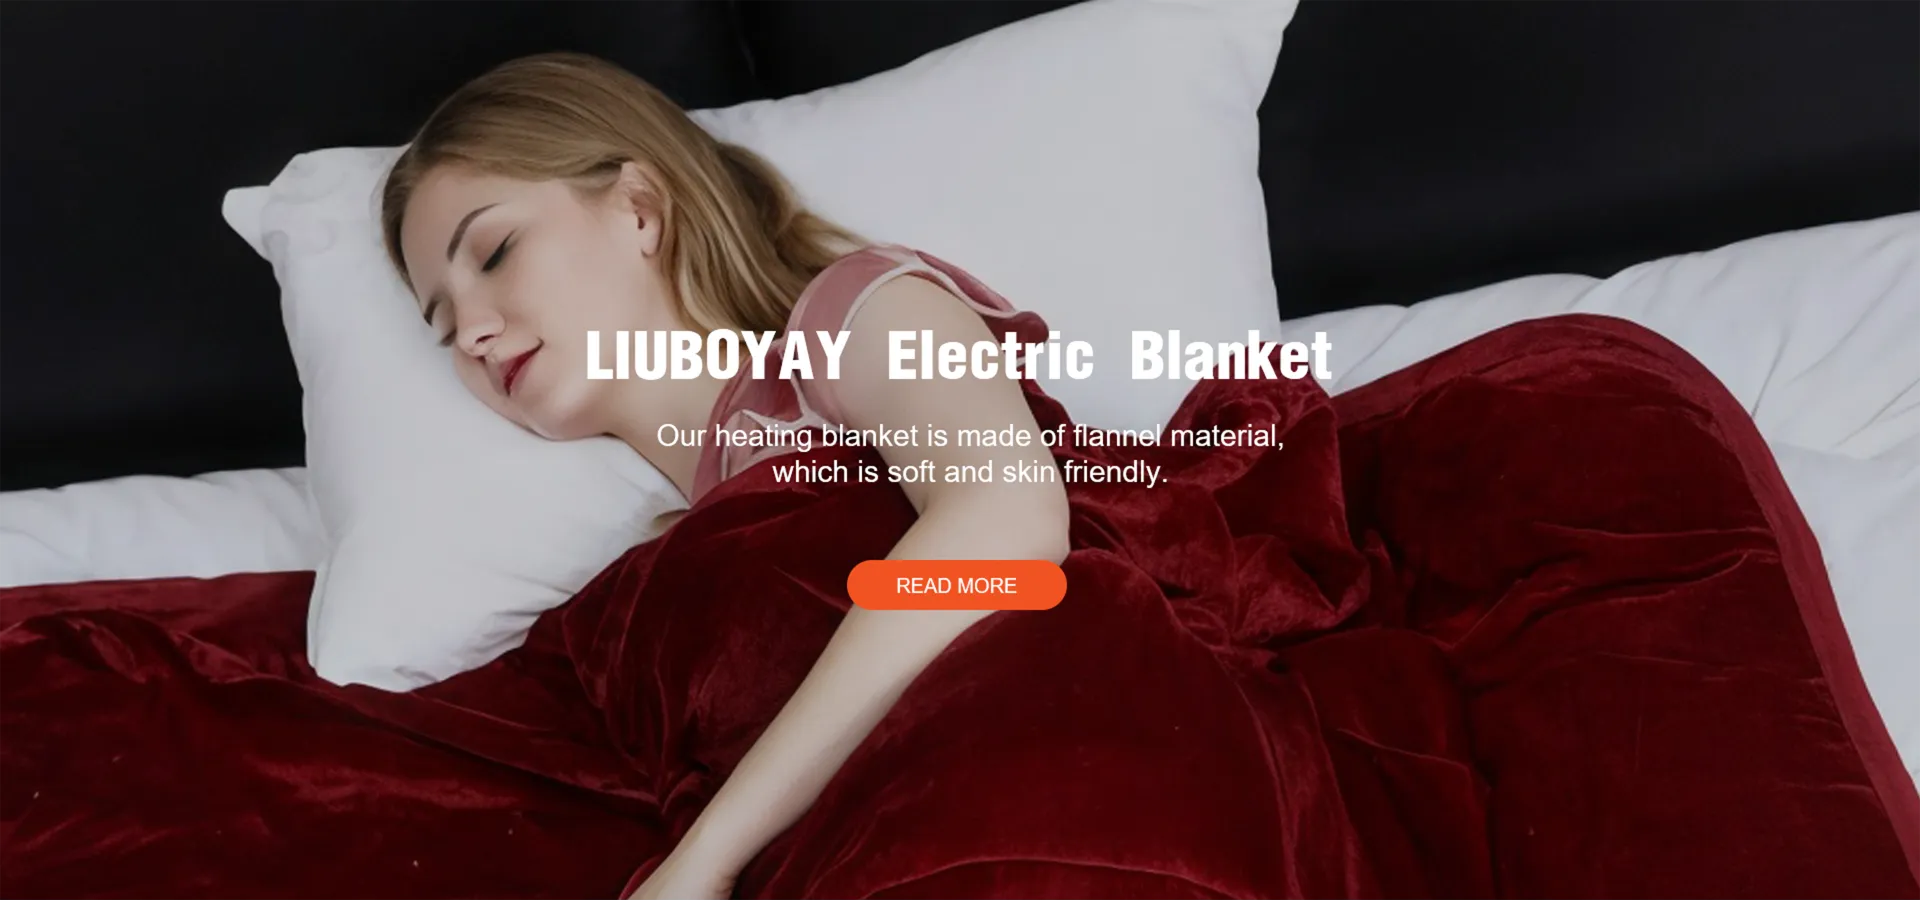
-
What are Lower Back Pain Pads?
-
The Cozy Embrace of Heated Throw Blankets A Grey Delight
-
3. Comfort and Softness Fleece is known for its luxurious softness, which enhances the overall comfort of the blanket. The combination of soft fleece and gentle heat creates a soothing experience that can alleviate stress and enhance relaxation.
-
The Allure of Heated Blankets
-
Conclusion
-
One of the most significant advantages of electric blankets is their economic efficiency. Using an electric blanket can substantially reduce heating costs. According to energy experts, heating an entire house significantly increases energy consumption, while a heated blanket can provide targeted warmth to the individual. Instead of cranking up the thermostat and heating an entire home, simply curling up under an electric blanket can effectively save on energy bills.
-
Understanding Dual Control Electric Under Blankets
-
-
3. Comfort and Softness Fleece is known for its luxurious softness, which enhances the overall comfort of the blanket. The combination of soft fleece and gentle heat creates a soothing experience that can alleviate stress and enhance relaxation.
-
Important Considerations
-
As the chill of winter sets in, the importance of staying warm and cozy becomes paramount. Among the various solutions available, electric heated throw blankets have emerged as one of the most popular choices for many individuals seeking comfort and warmth in their homes. These versatile blankets not only provide soothing heat but also add a touch of style and comfort to any setting.
-
Moreover, they are incredibly versatile. Whether you're binge-watching your favorite series on the couch, reading a book by the fireplace, or enjoying a peaceful evening on your patio, a heated throw can make any moment more enjoyable. Many heated throws are also lightweight and portable, making them easy to use in different settings—ideal for camping trips or chilly offices.
faux fur heated throw
-
1. Pain Relief One of the most significant advantages of electric vibrating heating pads is their ability to provide effective pain relief. By alleviating muscle tension and improving blood flow, these pads can help manage chronic pain conditions. Many users report a notable reduction in discomfort after just a few sessions.
-
1. Material Quality Look for blankets made from soft, breathable materials. Fleece and microplush fabrics are popular choices that provide warmth while ensuring comfort.
-
Calculating the Cost
-
User Experience and Comfort
weighted heated back pad
-
There are several effective ways to apply moist heat to relieve lower back pain
-
As the cold winter months approach, many of us are seeking ways to stay warm and comfortable without breaking the bank. One popular solution is the electric blanket, and more specifically, the affordable options available for double beds. Let’s delve into the advantages of cheap electric blankets and how they can enhance your sleeping experience.
-
If you choose to use an electric blanket in your home, here are some tips to ensure your cat’s safety
-
The Science Behind Heat Therapy
-
Conclusion
-
Electric blankets are designed to provide warmth through heating elements woven into the fabric. They usually come with adjustable heat settings, allowing users to customize their level of warmth. While they are fantastic for human nighttime comfort, the same cannot be universally applied to our canine companions.
-
Heated wearable blankets are essentially blankets incorporated with heating elements and designed to be worn like a robe. They provide all the warmth of a heated blanket but with the added benefit of mobility. Users can move about their homes, engage in their usual activities, and still be enveloped in warmth. This makes them particularly useful for those who feel the cold more acutely, such as the elderly, or for individuals who work from home and want to stay toasty without having to crank up the central heating.
-
The Innovation of Heated Blankets
-
The Cost of Electric Blanket Use A Comprehensive Analysis
-
1. Deep Tissue Penetration Moist heat has the ability to penetrate deeper into muscle tissues than dry heat. The increased moisture allows for higher temperatures, which can result in more effective relief of stiffness and tension.
-
One of the primary advantages of electric blankets is the quick relief they provide from the cold, especially during colder months. Personalised electric blankets elevate this experience by combining warmth with personal flair. Imagine curling up on a frigid evening with a blanket that not only keeps you warm but also carries your name or a cherished quote. This unique touch transforms an ordinary heating blanket into a cherished companion of comfort, reminding you of what you love with every use.
-
The emotional comfort of an electric blanket is hard to overstate. After a long day, curling up under a warm electric blanket can provide a soothing sensation that helps to relieve stress and foster relaxation. The gentle warmth can induce a sense of safety and security, reminiscent of childhood comforts, making it easier to drift into a peaceful slumber. The emotional benefits of improving sleep quality cannot be underestimated. Quality sleep is essential for overall well-being, influencing everything from mood to cognitive function. For those that struggle with insomnia or disrupted sleep patterns, the constant warmth of an electric blanket can make a significant difference.
electric blanket 1p a night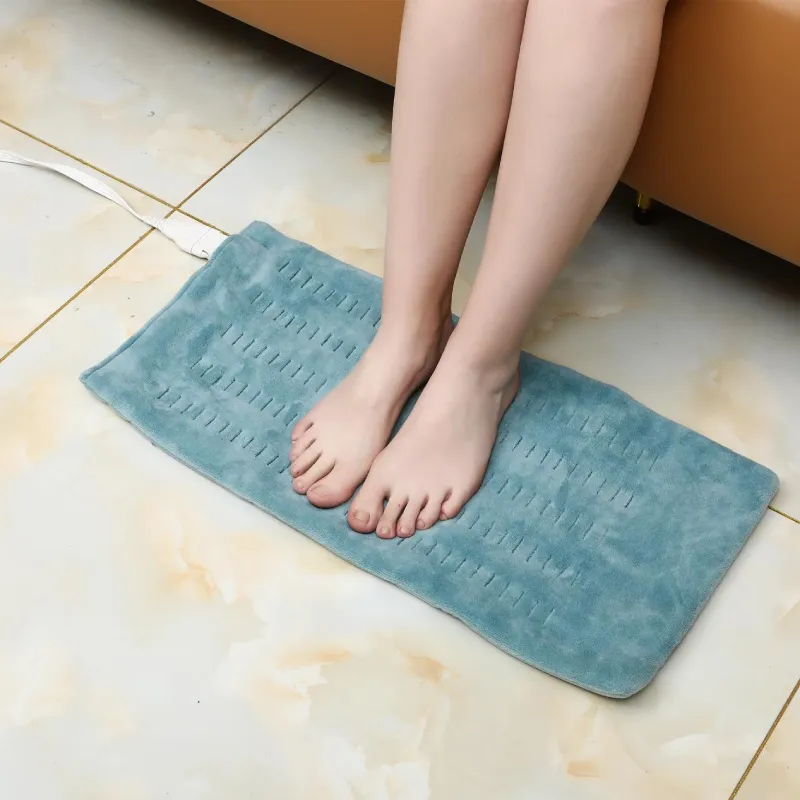
-
One of the primary advantages of using heat pads is their ability to provide pain relief. Heat therapy works by dilating blood vessels, which increases blood flow to the targeted area. This enhanced circulation helps to deliver oxygen and nutrients to sore or strained muscles, promoting healing and relaxation. Whether it’s menstrual cramps in the abdomen or tense muscles in the back, applying a heat pad can significantly reduce discomfort. The gentle warmth penetrates deep into the tissues, easing stiffness and providing a comforting sensation that alleviates pain.
-
To maximize the benefits of a heating pad, it is essential to use it safely and effectively. It’s recommended to apply the heating pad for 15 to 20 minutes at a time, ensuring that the heat is warm but not uncomfortably hot. It’s also crucial to avoid using a heating pad on broken skin or in areas with reduced sensation. For some individuals, alternating between heat and cold therapy can further enhance relief, as cold can reduce inflammation and heat can promote relaxation and healing.
-
While the upfront purchase price is important, the operational costs of using an electric blanket should not be overlooked. Generally, electric blankets are energy-efficient, consuming relatively low amounts of electricity. For instance, using an electric blanket may add just a few dollars to your monthly electric bill, depending on usage hours and local energy rates.
-
Types of Heat Packs
-
One of the primary advantages of using outdoor heating pads is the immediate warmth they can provide. Unlike traditional outdoor heating solutions like fire pits or propane heaters, which can take time to heat up and require specific setup, heating pads can be activated with the push of a button. This instant gratification is perfect for those crisp mornings or chilly nights when you simply can’t afford to wait for warmth.
-
The primary function of a dual control electric under blanket is to provide warmth, but it also offers numerous other benefits. These blankets can help relieve aches and pains, making them a perfect companion for those with chronic conditions such as arthritis or muscle tension. The gentle heat can relax stiff joints and improve circulation, leading to a more comfortable night’s sleep. Moreover, the soothing warmth can promote relaxation and help alleviate stress, making it easier to drift off into a peaceful slumber.
dual control electric under blanket
-
4. Versatility Low-cost electric blankets are available in various sizes and styles. Whether you’re looking for a throw blanket for your couch, a full-size option for your bed, or even a heated pad for targeted relief, there is an option to suit your needs.
-
Another significant advantage of electric cozy blankets is their versatility. They can be used in various settings—perfect for curling up on the sofa during a movie night, adding extra warmth to your bed during winter, or taking on camping trips. Some blankets are even lightweight and easy to travel with, making them suitable companions for road trips or outdoor adventures.
-
Heat packs offer a simple yet effective way to manage lower back pain. By enhancing circulation, relaxing muscles, and providing pain relief, they can be an essential part of a comprehensive pain management strategy. As always, individuals should consult with a healthcare provider to ensure heat therapy is suitable for their specific condition and to discuss any other treatments that may be necessary. With the right approach, heat packs can be a valuable tool in reclaiming a pain-free life.
-
As the chill of winter sets in, finding effective ways to keep warm becomes a priority for many. Electric under blankets with dual control have emerged as a popular solution, offering customized warmth and comfort for couples who have differing temperature preferences. This article explores the benefits of these innovative blankets, highlighting their convenience, energy efficiency, and health advantages.
-
When considering purchasing an electric overblanket throw, it's essential to choose the right one for your needs. Factors such as size, fabric type, and heat settings should be taken into account. Some blankets are even designed with dual controls, allowing two users to set their preferred heat levels independently. This feature makes electric throws an ideal choice for couples who might have different warmth preferences.
-
Electric throws are essentially blankets with built-in heating elements. Unlike traditional throws, which only provide warmth through insulation, electric throws offer adjustable heat settings, allowing users to customize their level of comfort. Whether you’re curling up on the couch with a good book, enjoying a movie night, or simply wanting to stay warm during those cold winter evenings, an electric throw can be a perfect companion.
-
2. Improved Circulation Heat therapy enhances blood circulation in the treated area, which can help reduce inflammation and promote healing. Increased blood flow delivers essential nutrients and oxygen to the muscles and tissues, aiding recovery and reducing pain over time.
-
The Comfort of Fleece Fitted Electric Blankets
-
The Benefits of Choosing a Cheap Electric Blanket for Your Double Bed
-
1. Twin Size Usually measuring around 62 inches by 84 inches, twin heated blankets are ideal for individual use, fitting perfectly on twin beds or for use on a couch. They are also great for those who like to snuggle up alone while watching TV or reading.
-
The Science of Heat Therapy
-
One of the most appealing features of a back heating pad wrap is its convenience and versatility. Many modern heating pads come with adjustable straps, allowing for a secure fit and targeted heat application. They can be used while sitting at a desk, lying down, or engaging in light activities, making them adaptable to various lifestyles. Additionally, most heating pads come with temperature controls and automatic shut-off features for safety and customization, ensuring users can tailor the experience to their preferences.
-
Benefits for Stomach Pain
- Effective Security Solution with Anti-Theft Barbed Wire Mesh for Enhanced Protection
- Manufacturers producing iron wire coil under HS code for global distribution.
- High-Capacity 300 Gallon Stainless Steel Water Storage Solution for Various Needs
- Exploring the Benefits and Applications of Plastic GI Sheets in Modern Construction Projects
- Durable PVC Coated Square Wire Mesh for Various Applications and Enhanced Outdoor Longevity
- High Capacity 1000 Liters Stainless Steel Water Tank for Reliable Storage Solutions
- Durable Hexagonal Wire Netting with PVC Coating for Enhanced Outdoor Protection and Versatility
- Nylon Window Screen Manufacturing Facility for Quality and Durability Solutions in Home Improvement
- Design Considerations for Anchoring Deformed Bars in Construction Applications and Structural Integrity
- Innovative Strategies for Enhancing Efficiency and Performance in Cooling Tower Systems Today