lay in grid ceiling tiles
Popular articles
- 1
- 2
Another significant aspect of these doors is compliance with various building codes and fire safety regulations. Many jurisdictions require that access points to plenum spaces—areas above ceilings used for air circulation—be adequately protected. Utilizing fire-rated doors ensures that the structure adheres to these legal requirements, avoiding potential fines and liability issues.
- 3
In conclusion, a 12x12 ceiling access panel is an indispensable feature of modern architecture that combines functionality with practicality. Whether for residential or commercial use, these panels simplify maintenance, enhance safety, and ultimately contribute to the longevity of building systems. By understanding the various options and benefits, property owners and builders can make informed decisions that meet their specific needs.
- 4
Grid ceilings offer an assortment of choices, combining functionality with style. By understanding the various types of materials available—ranging from acoustic tiles to metal panels—stakeholders can make informed decisions tailored to their specific needs. Whether the goal is to create a serene working environment, a stylish restaurant, or a comforting home, the right grid ceiling material can make all the difference.
- 5
Maintenance
- 6
The Benefits and Applications of Mineral Fiber Ceiling Boards
- 7
Links
-
4. Energy Efficiency Flat top belts generally require less power to operate compared to traditional conveyor belts, translating to lower operational costs. Their efficiency can lead to reduced energy consumption, a critical factor for businesses aiming to minimize their environmental footprint.
-
What is a Flat Lifting Belt?
-
2. Compact Design V-ribbed belts are capable of driving multiple accessories from a single belt, thus allowing for a more compact engine layout and saving space in machinery.
-
Maintenance and Replacement of Timing Belts
-
A variable belt drive is a mechanical system that uses belts and pulleys to transfer power while allowing for variable speed and torque adjustments. Unlike traditional fixed-speed belt drives, variable belt drives can dynamically change the tension and length of the belt, enabling seamless transitions in speed. This adaptability makes them particularly useful in applications where load variations are frequent, such as in automotive transmissions, conveyor systems, and industrial machinery.
-
To ensure the longevity of your washing machine's V-belt, regular maintenance is essential. Here are some practical tips
-
Advantages of V-Belts
-
-
Moreover, the introduction of smart manufacturing techniques, such as Industry 4.0, allows manufacturers to monitor production in real-time, ensuring consistency and quality. These innovations have led to the development of timing belts that not only perform better but also have prolonged service lives, reducing the frequency of replacements.
-
Het uurloon van een monteur kan ook een rol spelen in de uiteindelijke prijs. In sommige gevallen is het ook aan te raden om andere onderdelen die mogelijk versleten zijn, zoals de waterpomp, tegelijkertijd te vervangen. Dit kan aanvankelijk hogere kosten met zich meebrengen, maar op de lange termijn kan dit voordeliger zijn omdat je toekomstige werkzaamheden en kosten voorkomt.
-
In recent years, advancements in manufacturing materials have enhanced the durability and lifespan of fan belts. Many modern fan belts are now constructed from high-strength synthetic materials that resist wear better than traditional rubber. However, even these advanced belts require regular maintenance and replacement schedules to ensure peak performance.
-
1. Cost Efficiency Purchasing belts in bulk can lead to significant cost savings. By opting for a 10pk set, manufacturers can benefit from lower prices per unit compared to purchasing individual belts. This is especially valuable for businesses that require high volumes of belts for continuous operations.
10pk belt \/pk belt
-
Conclusion
-
4. Schedule Professional Maintenance Consider having your washing machine inspected by a professional technician annually. They can provide insights on the condition of the belt and other components.
-
1. Optimal Engine Efficiency The quality of the PK belt directly affects engine performance. A well-functioning belt ensures that the components it drives operate at optimal speed and timing, contributing to better fuel efficiency and lower emissions.
pk belt for car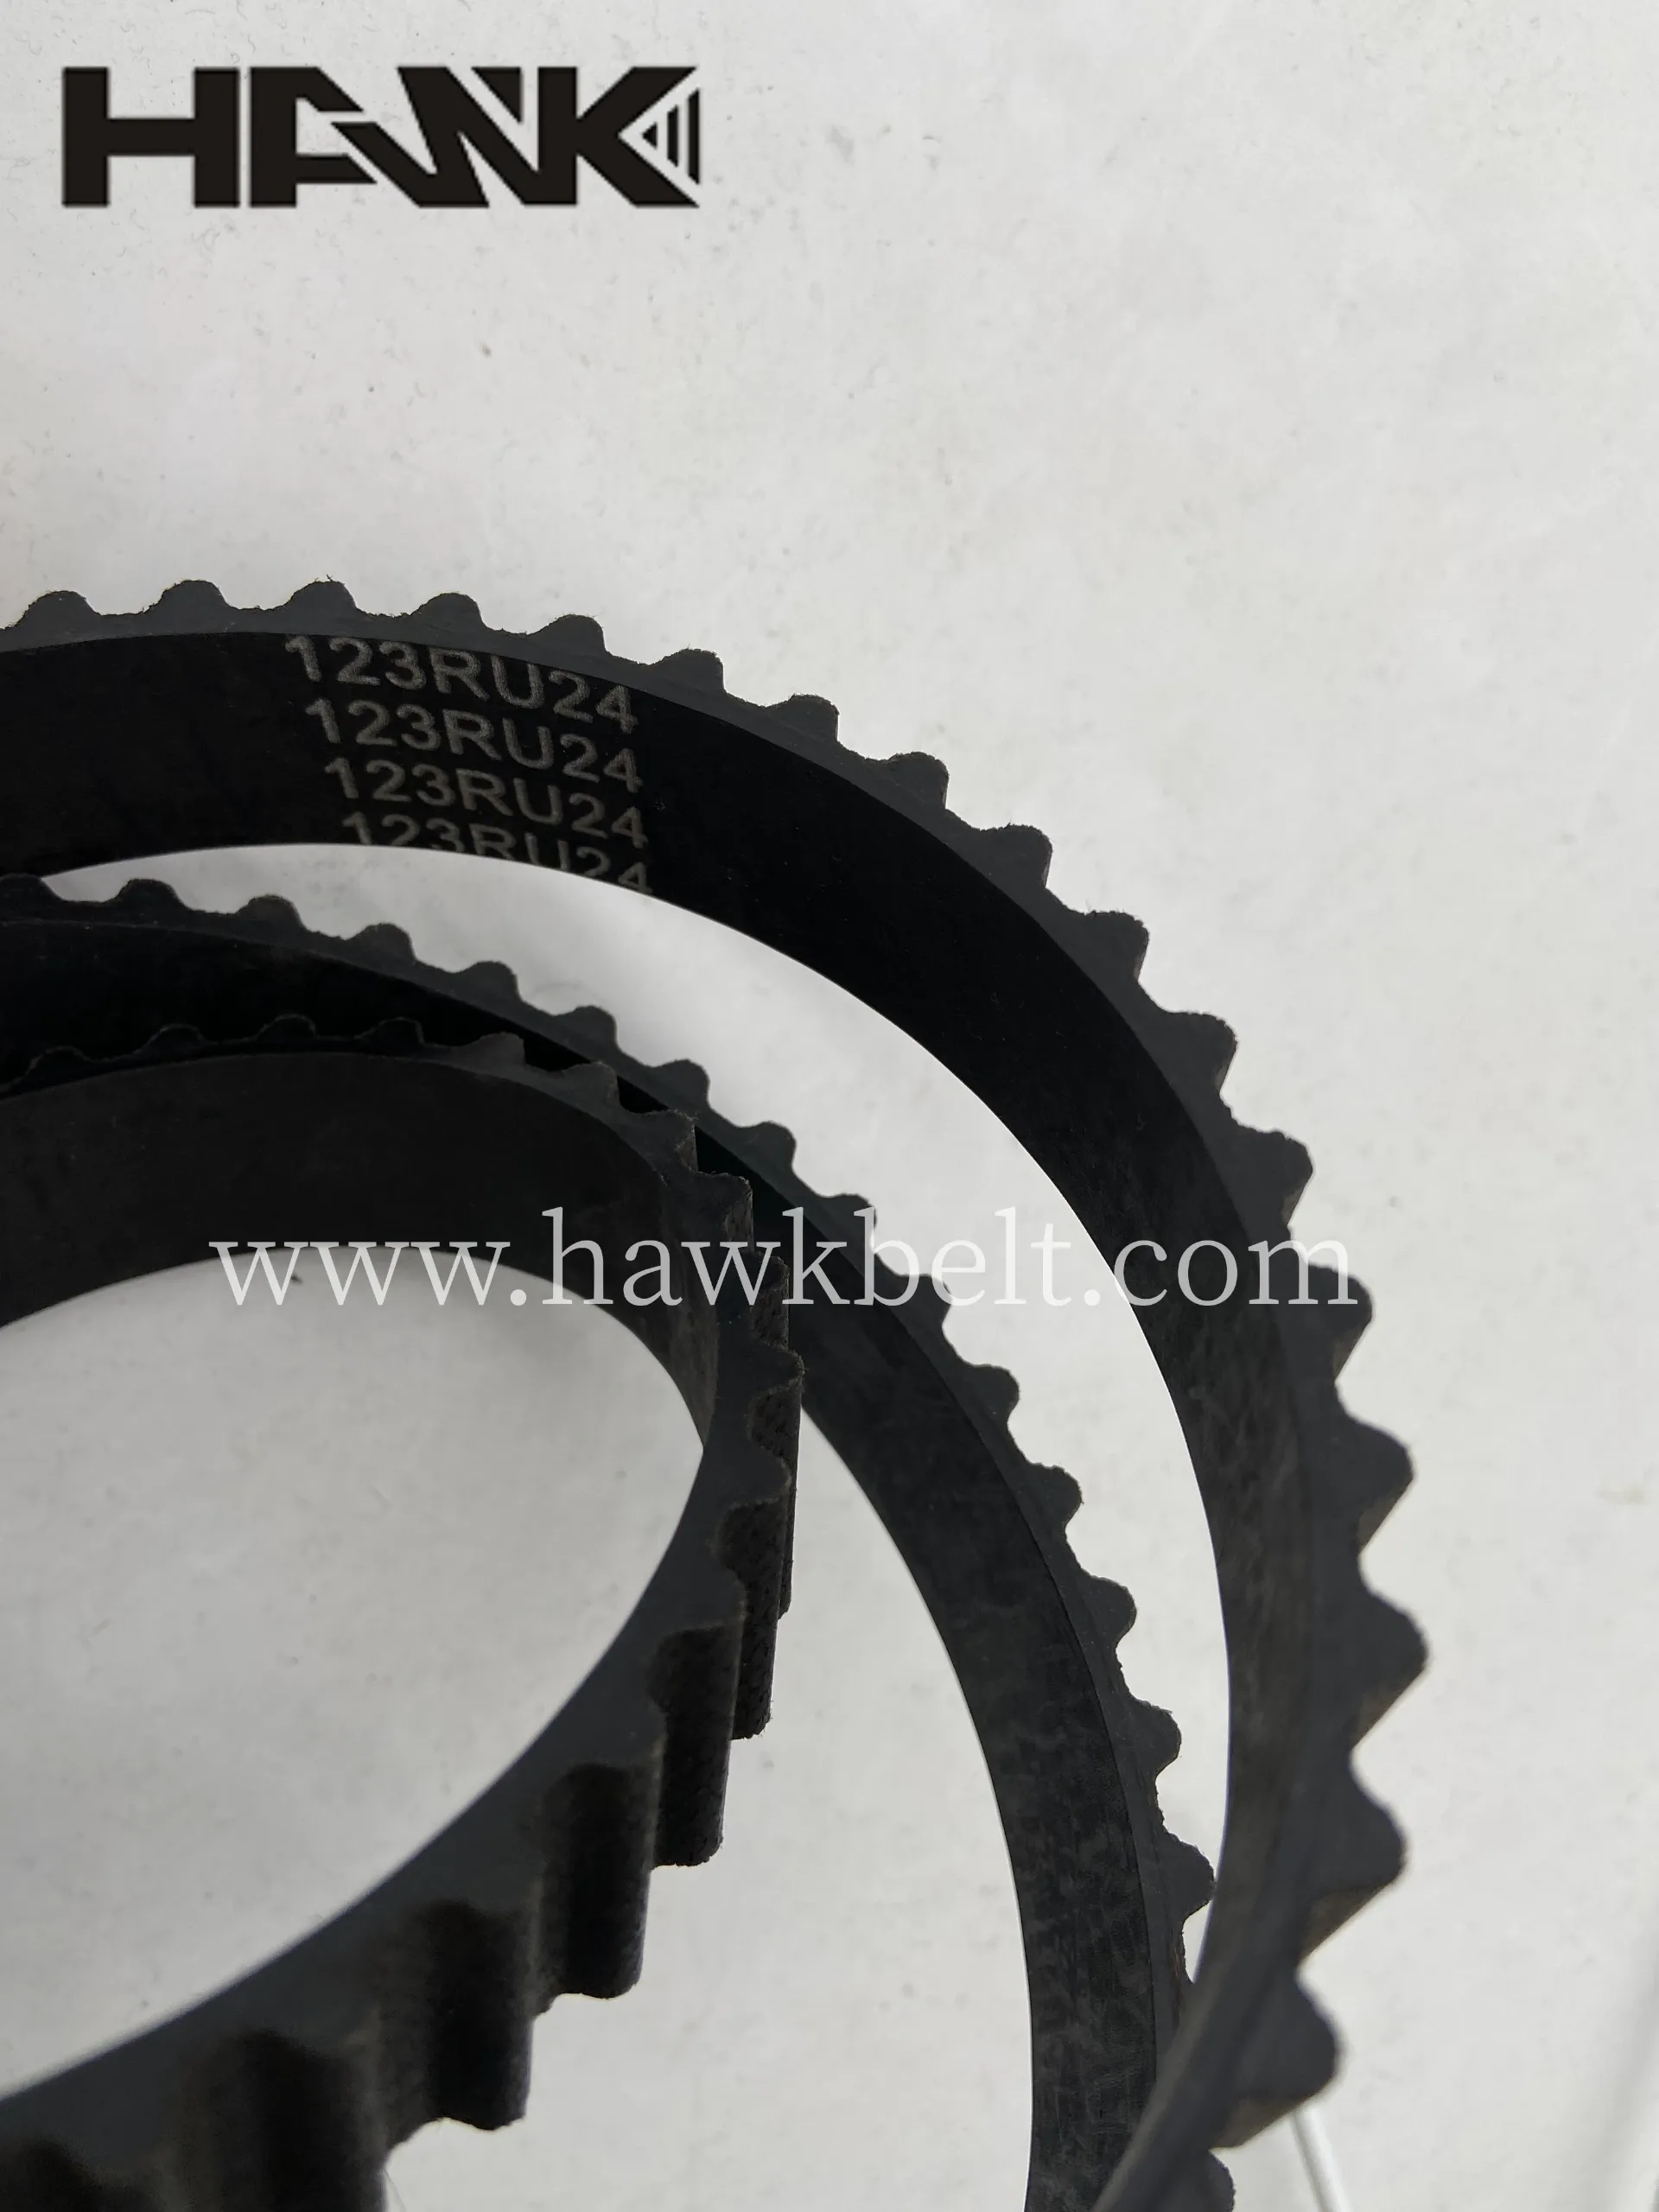
-
In recent years, the global auto parts market has expanded dramatically, making it easier for consumers and businesses to find cost-effective solutions for their automotive needs. Among the many players in this vast landscape, Yiwu, a city in China known for its vibrant wholesale markets, has emerged as a significant hub for automotive components. This article delves into the world of Yiwu auto parts specifically designed for Volvo vehicles, highlighting the advantages of sourcing these components from this bustling marketplace.
-
Maintenance Tips
-
A dash cam is a valuable accessory that can enhance your safety and provide peace of mind. This small camera records your drive, capturing any incidents that may occur on the road. In the event of an accident, having clear footage can be crucial for insurance claims and legal matters. Additionally, some dash cams come with features like GPS tracking and parking mode, adding an extra layer of security to your vehicle.
car accessories
-
As correias dentadas de aço são ideais para aplicações que exigem um suporte robusto e resistência imbatível. Elas são frequentemente utilizadas em maquinários pesados e em sistemas onde há grandes tensões e cargas. Embora sejam mais pesadas que as correias de poliuretano ou borracha, sua resistência e durabilidade as tornam essenciais em ambientes industriais exigentes.
-
When getting your timing belt changed, it is worthwhile to check the condition of the water pump, as replacing it at the same time can save on labor costs and future headaches. A worn-out water pump can lead to overheating, which is detrimental to your engine.
timing belt set
-
Alennusprosentti ja vyöt - Muotitrendi ja Ostopäätökset
-
Conclusion
-
Poly V-belts are prevalent in numerous sectors. In automotive applications, they are commonly found in drive systems for accessories such as alternators, power steering, and air conditioning compressors. The flexibility and high torque capacity allow for the driving of multiple components from a single belt, reducing the weight and complexity of the vehicle’s drive system.
-
1. Unusual Noises If you hear a ticking or clicking noise coming from the front of the engine, it could be a sign that the timing belt or its associated components are wearing out.
-
Understanding Timing Belt Sizes A Comprehensive Guide
-
1. V-Belts These are designed with a trapezoidal cross-section. V-belts are common in automobile engines and machinery, primarily due to their ability to handle high torsional loads and provide a good grip. They are often used in scenarios where power needs to be transmitted over a distance between pulleys.
-
In addition to traditional industries, flat leather machine belts are experiencing a resurgence in modern applications due to their environmentally friendly attributes. As industries increasingly prioritize sustainability, the use of natural materials like leather, which is biodegradable and can be sourced responsibly, becomes more appealing.
-
- Automotive Industry In vehicles, TB2 Poly V belts are utilized to drive auxiliary components such as alternators, power steering pumps, and air conditioning compressors. Their reliability and efficiency make them a preferred choice in modern vehicle design.
-
Maintenance of Rubber PK Belts
-
Maintaining Your Washing Machine Belt
-
One cannot overlook the environmental considerations that accompany the launch of the 1600-H8M-PK. In today's climate-conscious society, manufacturers are increasingly held accountable for the ecological impact of their products. The 1600-H8M-PK incorporates sustainable practices in its production and packaging, utilizing recyclable materials wherever possible. This commitment to sustainability resonates with environmentally aware consumers who prioritize eco-friendly options when making technology purchases.
-
For eco-conscious drivers, these advancements translate to lower fuel consumption and fewer carbon emissions. By upgrading to modern car drive belt systems, vehicles operate more efficiently, contributing to global efforts toward sustainable development in the automotive sector.
-
V-belts are used across a wide spectrum of applications
- - Environmental Considerations Keep the belt away from oils, solvents, and extreme temperatures that could degrade its material.
-
Eco-Friendly Fashion Statement
vintage motorcycle chain belt
-
3. Oil Leaks A failing timing belt can sometimes cause damage to the engine, leading to oil leaks. If you notice spots of oil under your vehicle, further inspection is advised.
timing belt viva
-
3. Cleanliness Keep the belt and pulley surfaces clean and free from oil, dirt, and other contaminants, as these can lead to belt degradation and slippage.
-
The timing belt is one of the most crucial components in an internal combustion engine. Often overlooked during routine maintenance checks, a well-functioning timing belt set is essential for ensuring your engine runs smoothly and efficiently. In this article, we’ll explore what a timing belt set consists of, its importance, how to maintain it, and signs of failure.
-
1. Energy Efficiency The efficient design of raw edge cogged V-belts reduces energy losses in the system, which is especially beneficial for industrial applications where operating costs are a concern.
-
4. Energy Efficiency Poly flat belts offer efficient power transmission with minimal energy loss. Their smooth surfaces reduce friction, allowing machines to operate more effectively, which can lead to reduced operational costs over time.
poly flat belt
-
4. Noise Reduction One of the standout features of the Cummins Belt 3289930 is its ability to reduce noise during operation. This is particularly important in industries where noise pollution can be a concern. A quieter engine not only improves working conditions but also contributes to a more pleasant environment for operators and surrounding areas.
-
Characteristics of Raw Edge Cogged V-Belts
-
Choosing the Right 7pk Belt
-
The body of the Terios is built to withstand the rigors of daily driving and off-road adventures. Components such as doors, bumpers, and windows may need repairs or replacements over time due to wear and tear or minor accidents. Additionally, the interior includes essential parts like seats, seat belts, and dashboard components that contribute to driver and passenger safety. Choosing high-quality replacement parts can enhance the interior comfort and aesthetics of the vehicle.
-
1. Gummiriemen Diese Riemen bieten eine hohe Flexibilität und sind resistent gegen verschiedene Umwelteinflüsse.
-
Given their unique properties, poly flat belts are utilized in a wide array of applications
-
Conclusion
-
Additionally, V-belt clutches are relatively easy to install and maintain. Their construction typically requires fewer components compared to other clutch systems, leading to simpler maintenance procedures. Regular inspections and belt adjustments are usually sufficient to keep the system functioning optimally.
v belt clutches
-
Не меньш важным момантам пры выбары рамяня з'яўляецца адпаведнасць памеру. Таны рамень павінен быць дастаткова доўгім, каб яго можна было зафіксаваць у патрэбнай пазіцыі, але не занадта доўгім, каб не выглядаць недарэчна. Калі вы не ўпэўнены ў выбары памеру, многія крамы прапануюць магчымасць абміну памеру або вяртання прадукцыі.
-
3. Monitor Engine Performance Pay attention to your engine's performance. If you notice unusual noises, vibrations, or a decrease in power, it may be indicative of timing belt issues.
- Angular Contact Ball Bearings Product Guide and Specifications Overview
- 28580 bearing
- weizi bearing bearing ball deep groove
- Roulements à contact angulaire - Performance et Précision
- weizi bearing bearing pressing machine
- weizi bearing cylindrical roller bearing supplier
- weizi bearing nj 206 bearing
- weizi bearing 23244 bearing
- Similar title to 4T L44649 Bearing can be Replacement Bearing for 4T L44649, High Quality and Durable
- Design and Applications of Single Thrust Ball Bearings in Machinery Systems
- 2