Feb . 13, 2025 01:07 Back to list
mineral fiber ceiling tiles
Installing a T-bar ceiling grid system can completely transform the look of a space, providing a clean, professional appearance that is both functional and aesthetically pleasing. This step-by-step guide will help you understand the process from start to finish, ensuring a successful installation whether you're a seasoned professional or a DIY enthusiast. Let's delve into the essentials of a successful T-bar ceiling grid installation.
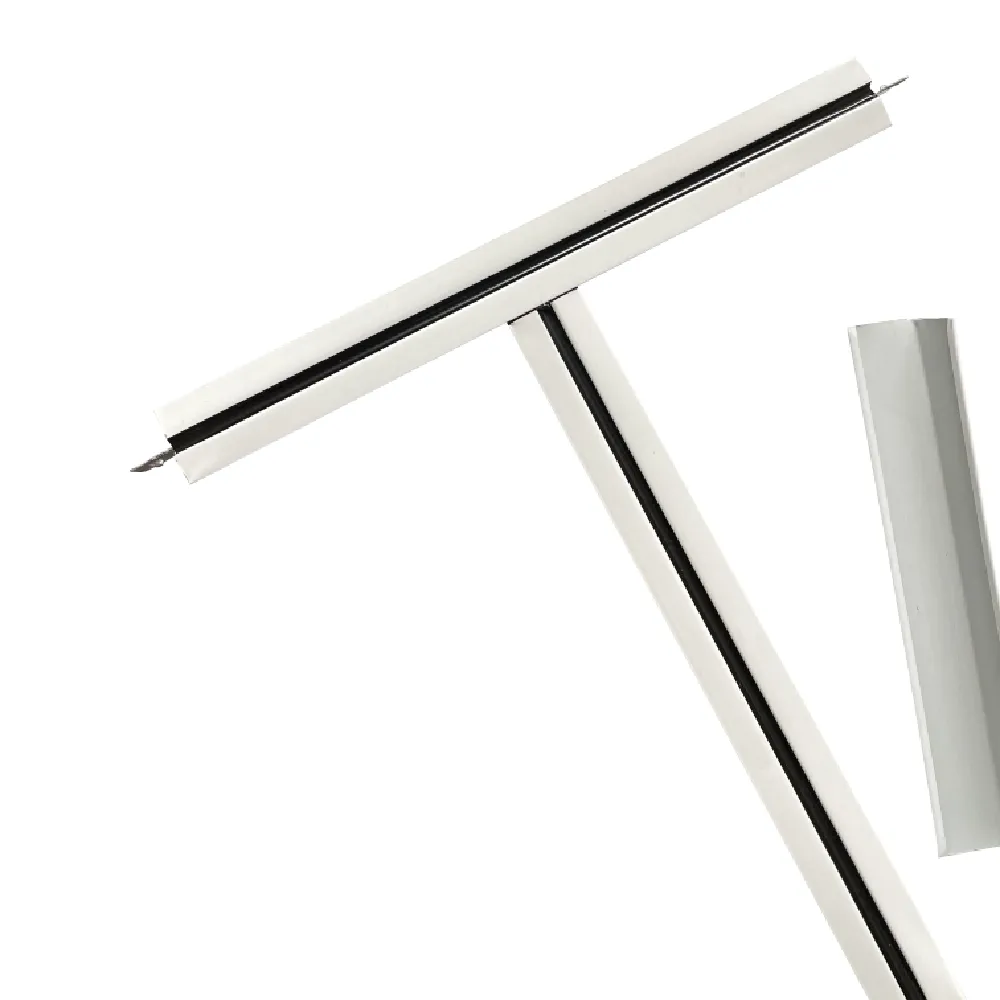
Following this, install the cross T's, which connect between the main runners and wall angles to form a grid pattern. The cross T's should lock into place easily if the main runners are properly aligned. Typically, cross T's are spaced two feet apart, creating a standard 2x4 foot grid for tiles, but variations are possible depending on the tile size and architectural design. Installing the ceiling tiles is next. Begin placing the tiles from the center of the room, moving outwards towards the edges. This method helps to achieve a balanced appearance and minimizes the cutting of tiles at the boundaries. When cutting is necessary, measure and cut the tiles carefully for a snug fit against walls and around fixtures. Final adjustments include inspecting the entire grid for any misalignments or gaps. Check that all components are securely locked and level. Double-check tile fitment, ensuring there are no gaps or uneven edges, which are often signs of misaligned grids. Throughout the installation process, adhere to all safety guidelines. Wear protective eyewear and gloves as necessary, and ensure proper ladder safety to prevent accidents. Utilizing quality materials and proper tools not only enhances durability but also contributes to a professional finish. Taking the time to install a T-bar ceiling grid correctly can have a profound impact on the practicality and aesthetic of a room. A well-installed ceiling grid not only conceals unsightly wires and pipes but also allows easy access for maintenance tasks. For both commercial spaces and residential applications like basements, this type of ceiling system provides an exemplary solution for modern needs. By following these detailed steps and recommendations rooted in professional expertise, you ensure a trustworthy and authoritative guide for your T-bar ceiling grid installation. Whatever your level of experience, this process equips you to achieve a high-quality outcome that enhances both function and design.


Following this, install the cross T's, which connect between the main runners and wall angles to form a grid pattern. The cross T's should lock into place easily if the main runners are properly aligned. Typically, cross T's are spaced two feet apart, creating a standard 2x4 foot grid for tiles, but variations are possible depending on the tile size and architectural design. Installing the ceiling tiles is next. Begin placing the tiles from the center of the room, moving outwards towards the edges. This method helps to achieve a balanced appearance and minimizes the cutting of tiles at the boundaries. When cutting is necessary, measure and cut the tiles carefully for a snug fit against walls and around fixtures. Final adjustments include inspecting the entire grid for any misalignments or gaps. Check that all components are securely locked and level. Double-check tile fitment, ensuring there are no gaps or uneven edges, which are often signs of misaligned grids. Throughout the installation process, adhere to all safety guidelines. Wear protective eyewear and gloves as necessary, and ensure proper ladder safety to prevent accidents. Utilizing quality materials and proper tools not only enhances durability but also contributes to a professional finish. Taking the time to install a T-bar ceiling grid correctly can have a profound impact on the practicality and aesthetic of a room. A well-installed ceiling grid not only conceals unsightly wires and pipes but also allows easy access for maintenance tasks. For both commercial spaces and residential applications like basements, this type of ceiling system provides an exemplary solution for modern needs. By following these detailed steps and recommendations rooted in professional expertise, you ensure a trustworthy and authoritative guide for your T-bar ceiling grid installation. Whatever your level of experience, this process equips you to achieve a high-quality outcome that enhances both function and design.
Latest news
-
Quality Ceiling Trap Doors & Access Panels | Easy & Secure AccessNewsAug.30,2025
-
Durable Ceiling T Grid Systems | Easy InstallationNewsAug.29,2025
-
PVC Gypsum Ceiling: Durable, Laminated Tiles for Modern SpacesNewsAug.28,2025
-
Pvc Gypsum Ceiling Is DurableNewsAug.21,2025
-
Mineral Fiber Board Is DurableNewsAug.21,2025
-
Ceiling Tile Clip Reusable DesignNewsAug.21,2025


